Deploy a GPU-backed Kubernetes cluster on AION, install NVIDIA GPU Operator + KubeRay Operator + Ray Cluster from Marketplace, then apply the RayService Stable Diffusion example and validate it by port-forwarding and sending a request.

Step 1: Create a Kubernetes cluster with GPUs

  1. In the left navigation, click Kubernetes.
  2. Click Create K8s Cluster.
  3. Select a region with GPU availability that fits your needs.
  4. Create or select a project.
  5. Configure the cluster (cluster name, nodes, image, SSH key, version, etc.).
  6. Click Launch and wait until the cluster status is ready/active.
  7. Copy KubeConfig from the cluster card/details and setup the kubeconfig file.
Recommended: Have at least one GPU-capable node available for Stable Diffusion serving.

Step 2: Install required Marketplace apps

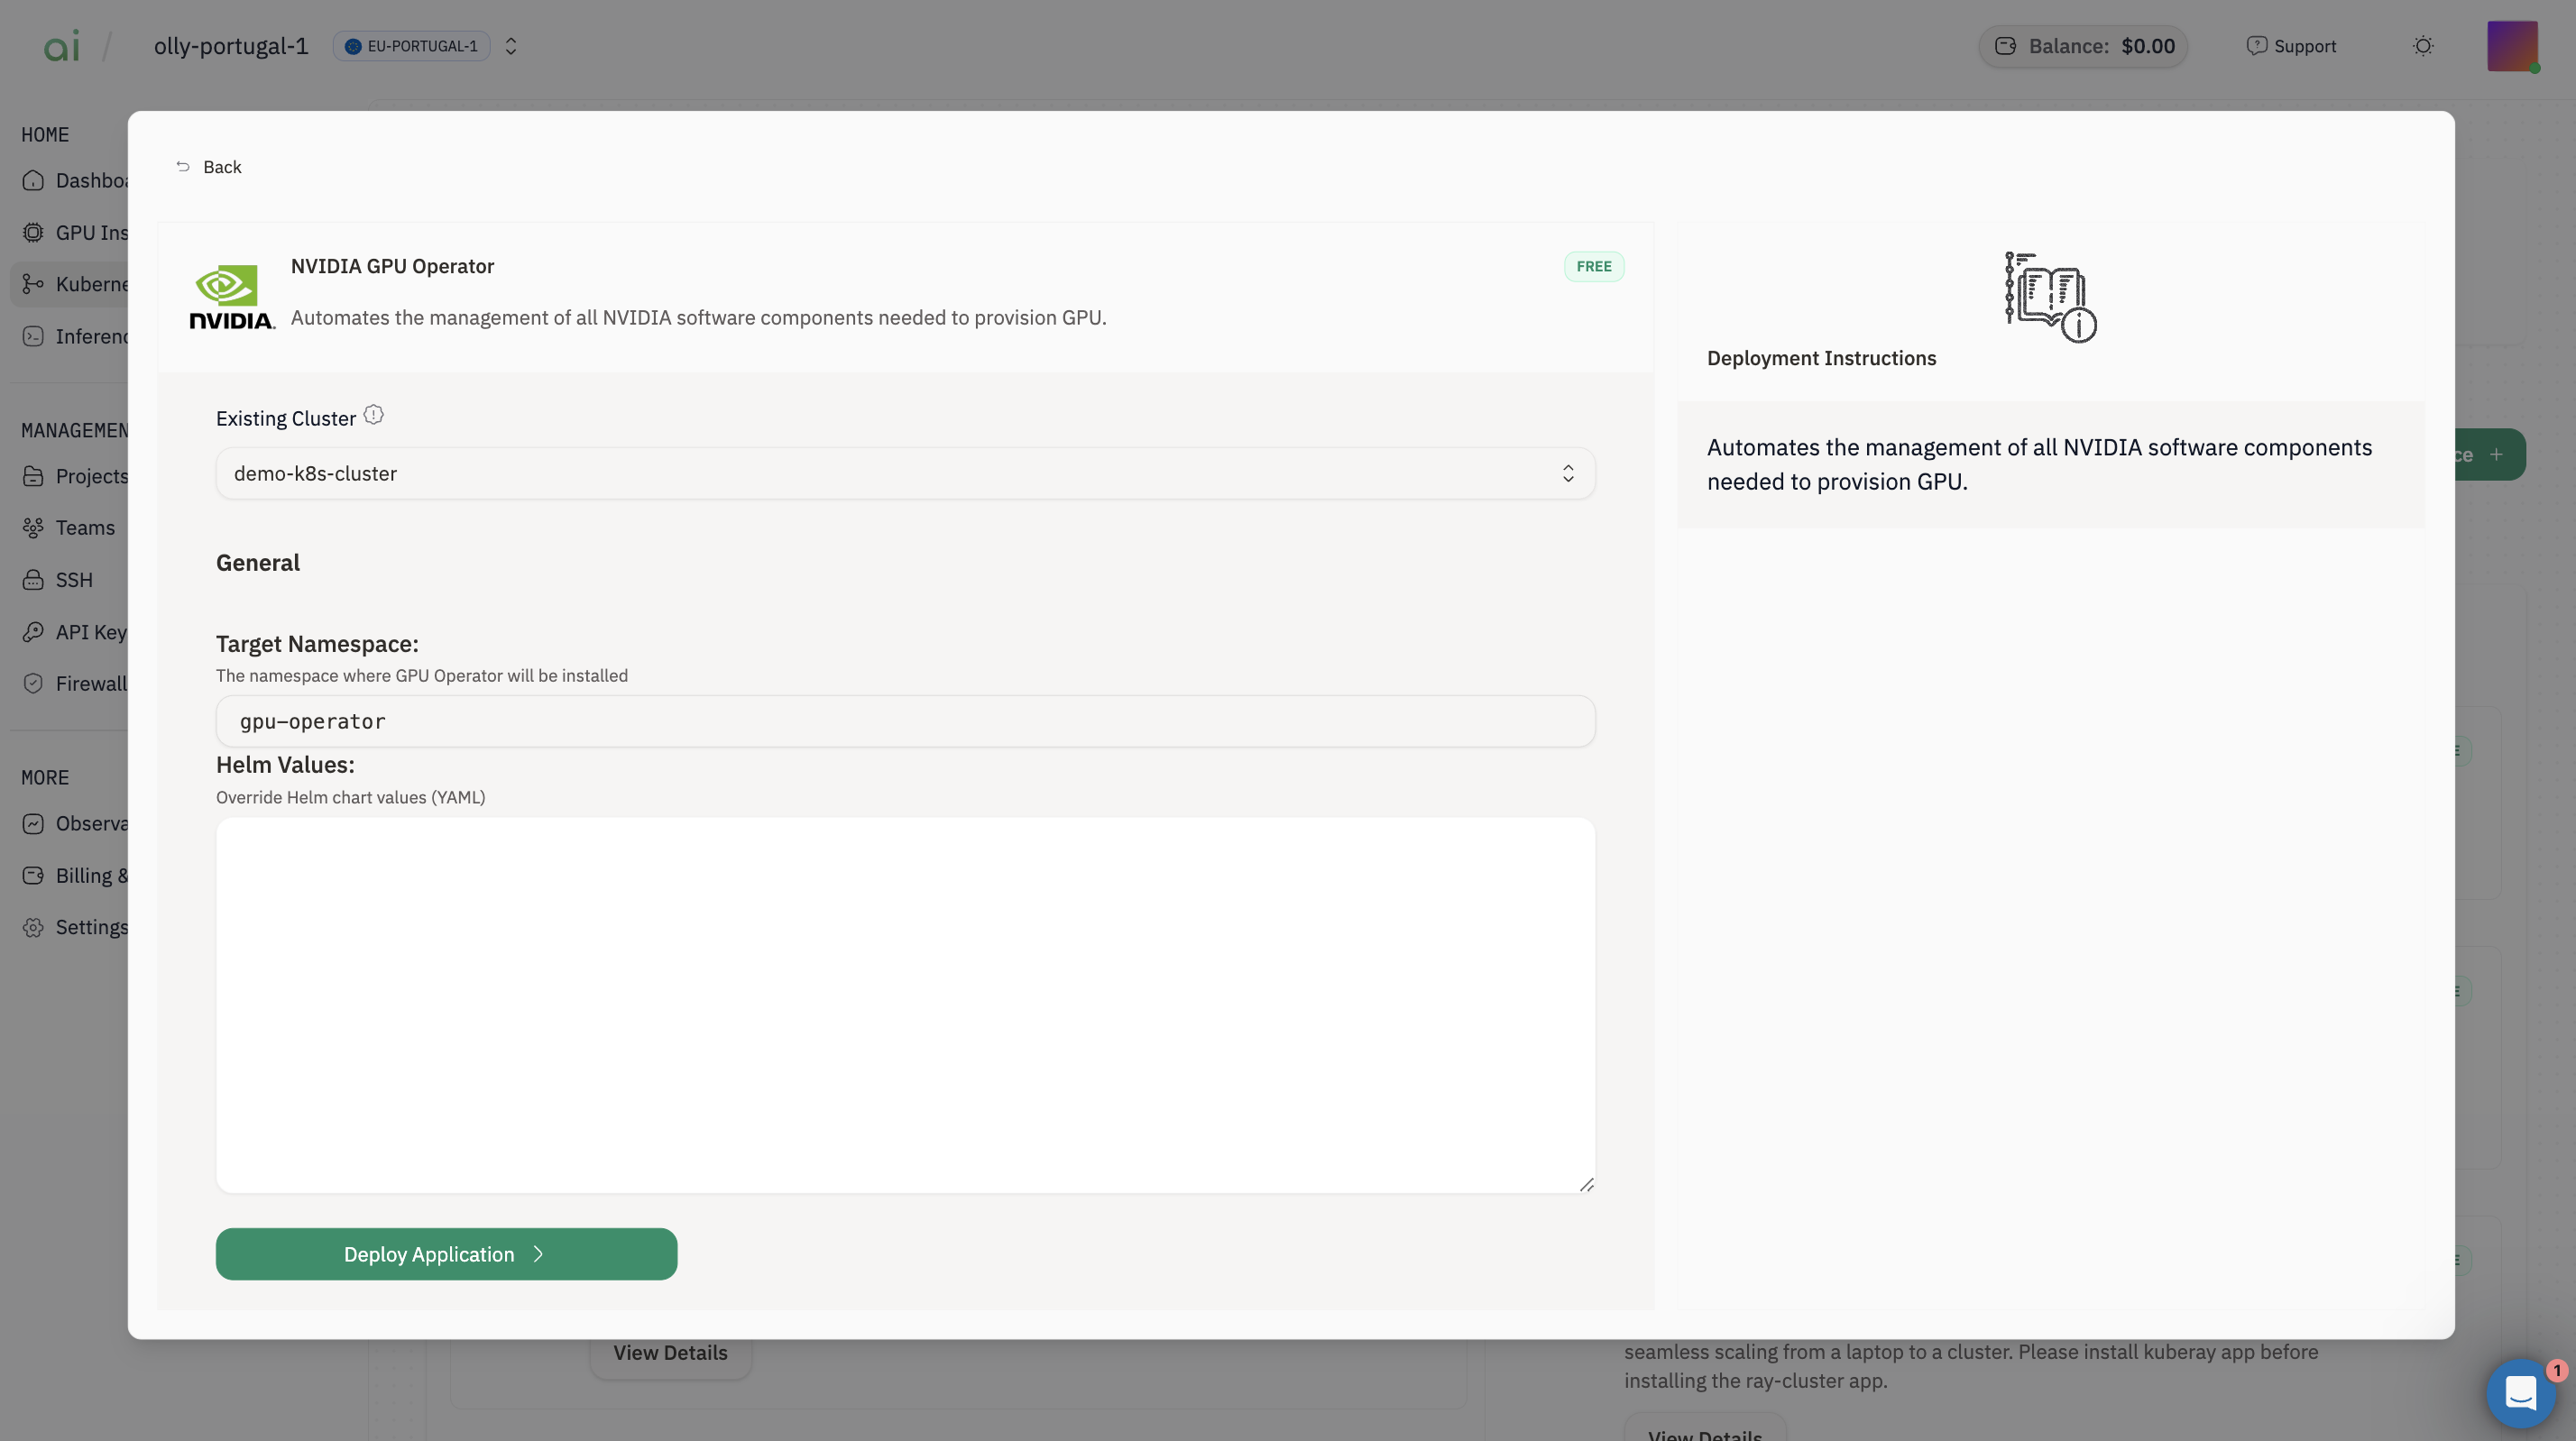
Go to Kubernetes → Marketplace and install, in this order:

2.1 Install NVIDIA GPU Operator

  1. Open NVIDIA GPU OperatorView Details
  2. Choose Existing Cluster = your cluster
  3. Click Deploy Application
Verify:
kubectl get pods -n gpu-operator

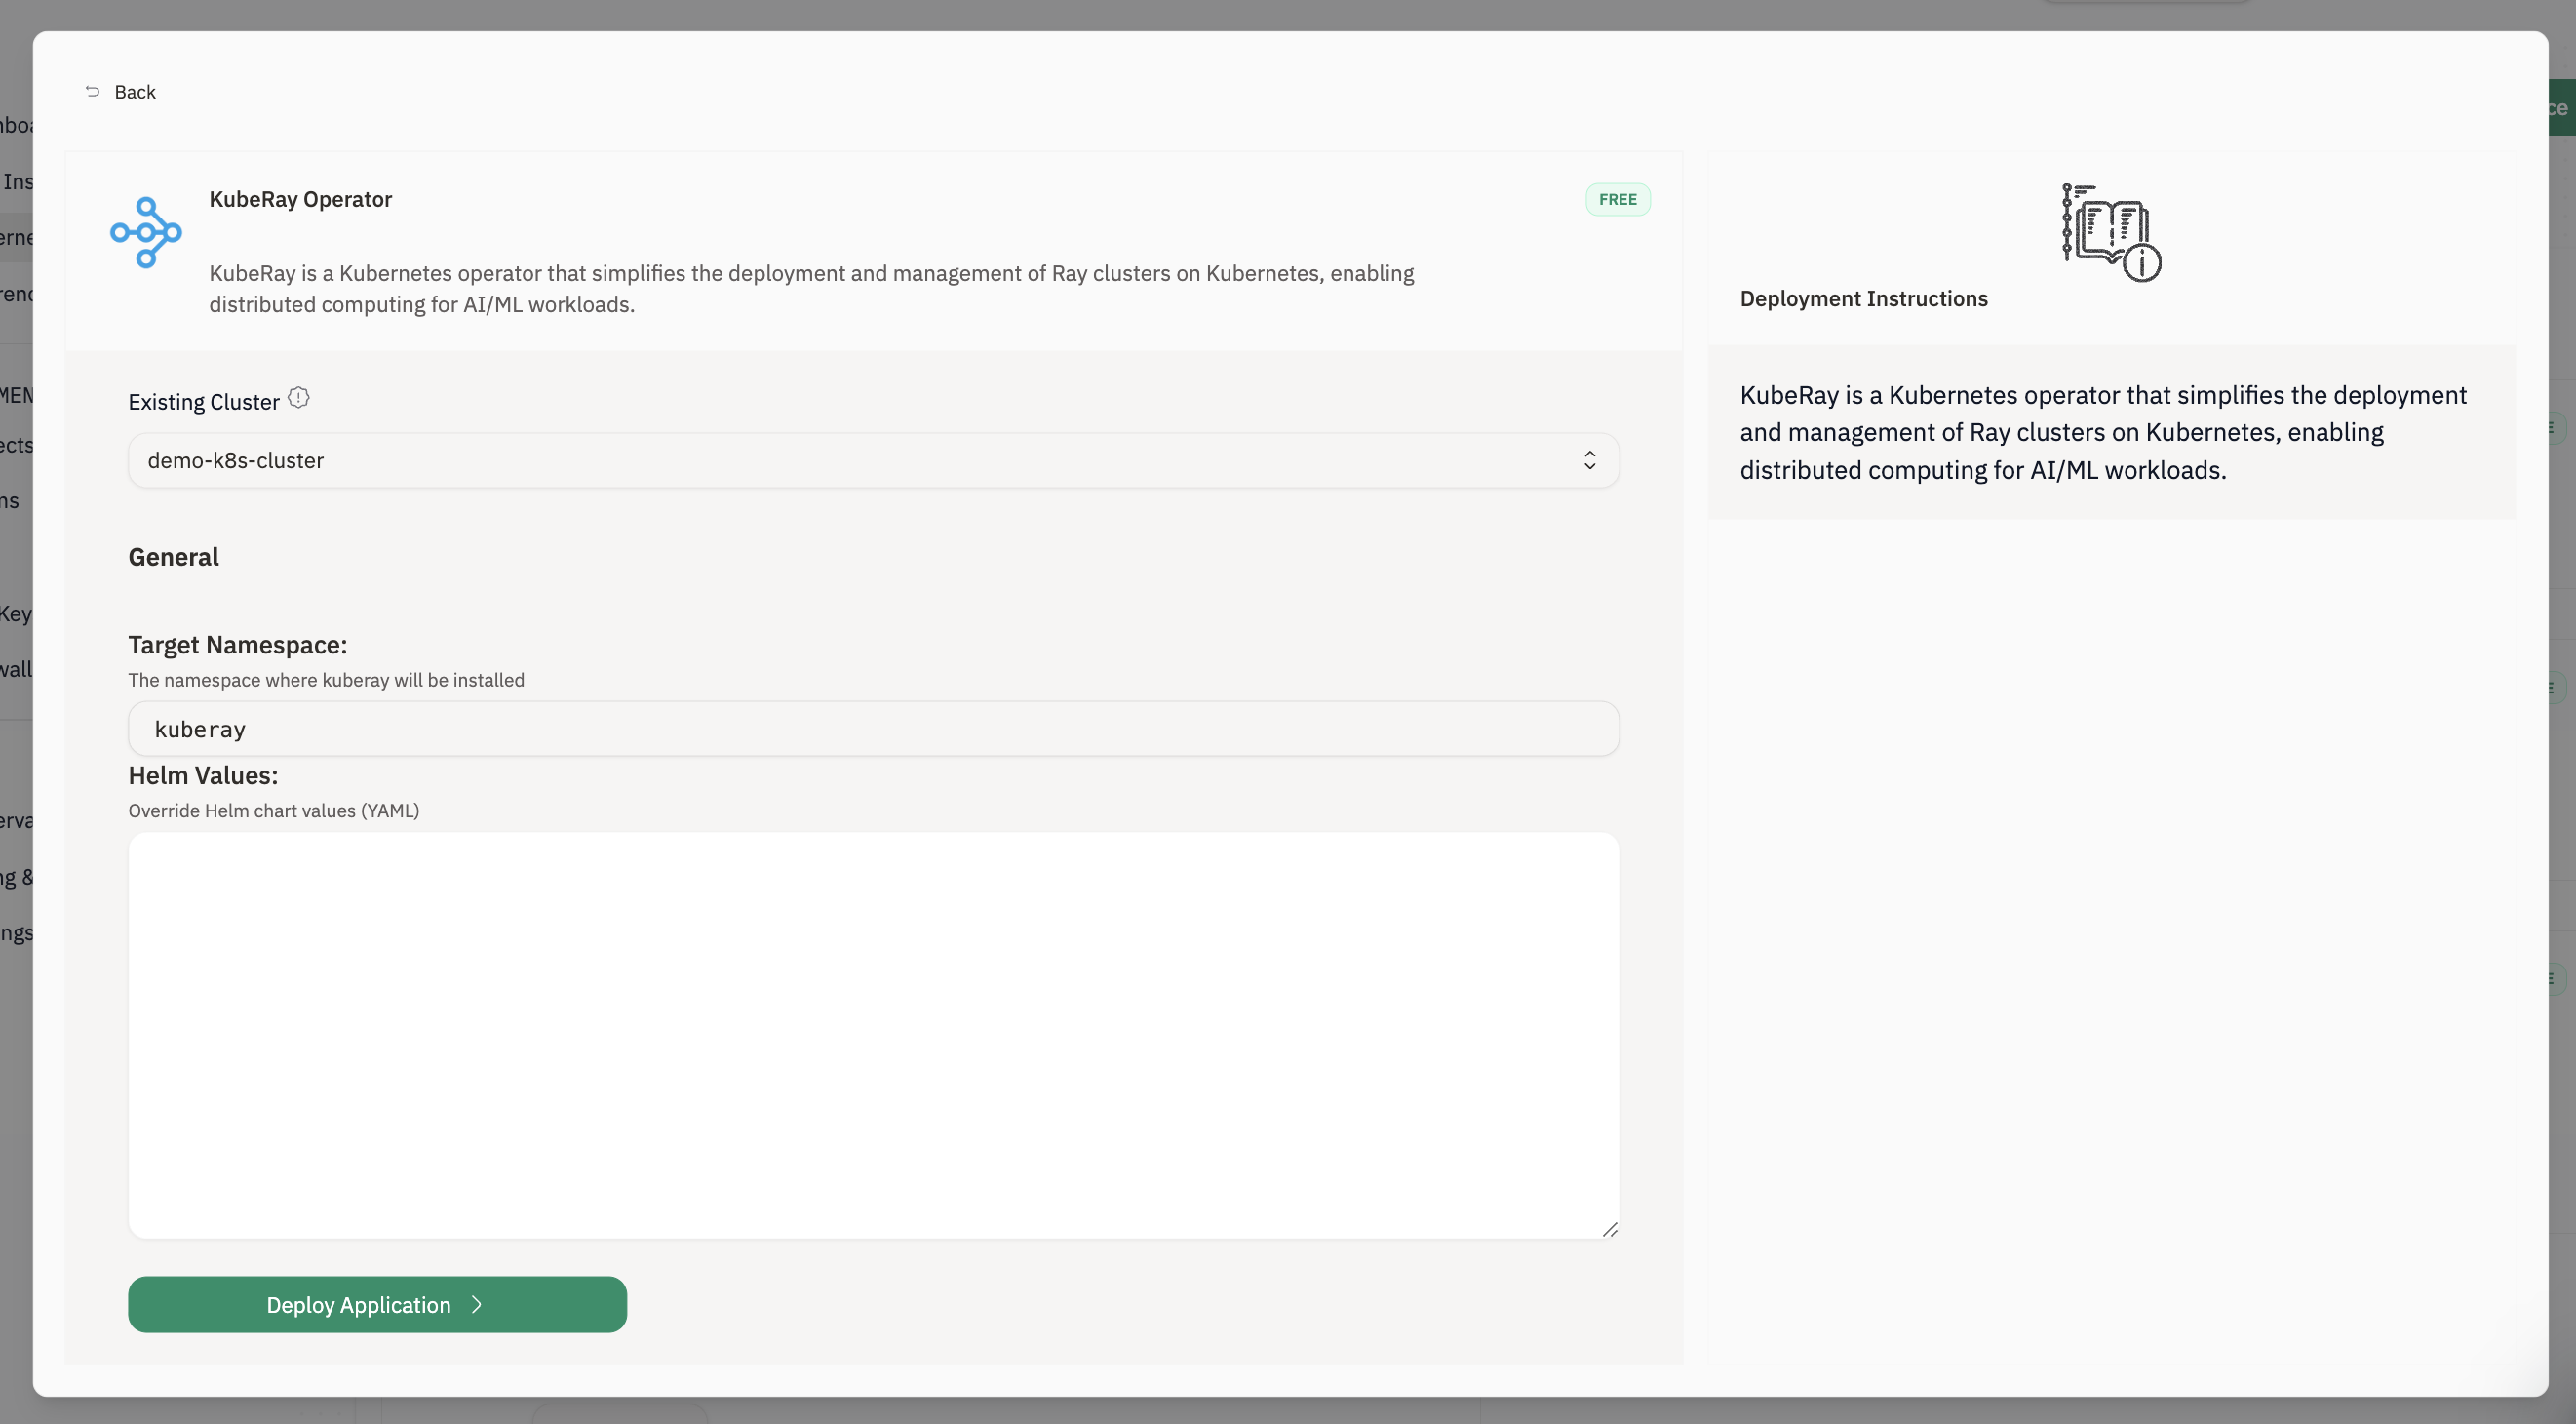
2.2 Install KubeRay Operator

  1. Open KubeRay OperatorView Details
  2. Choose Existing Cluster
  3. Click Deploy Application
Verify CRDs:
kubectl get crd | grep ray

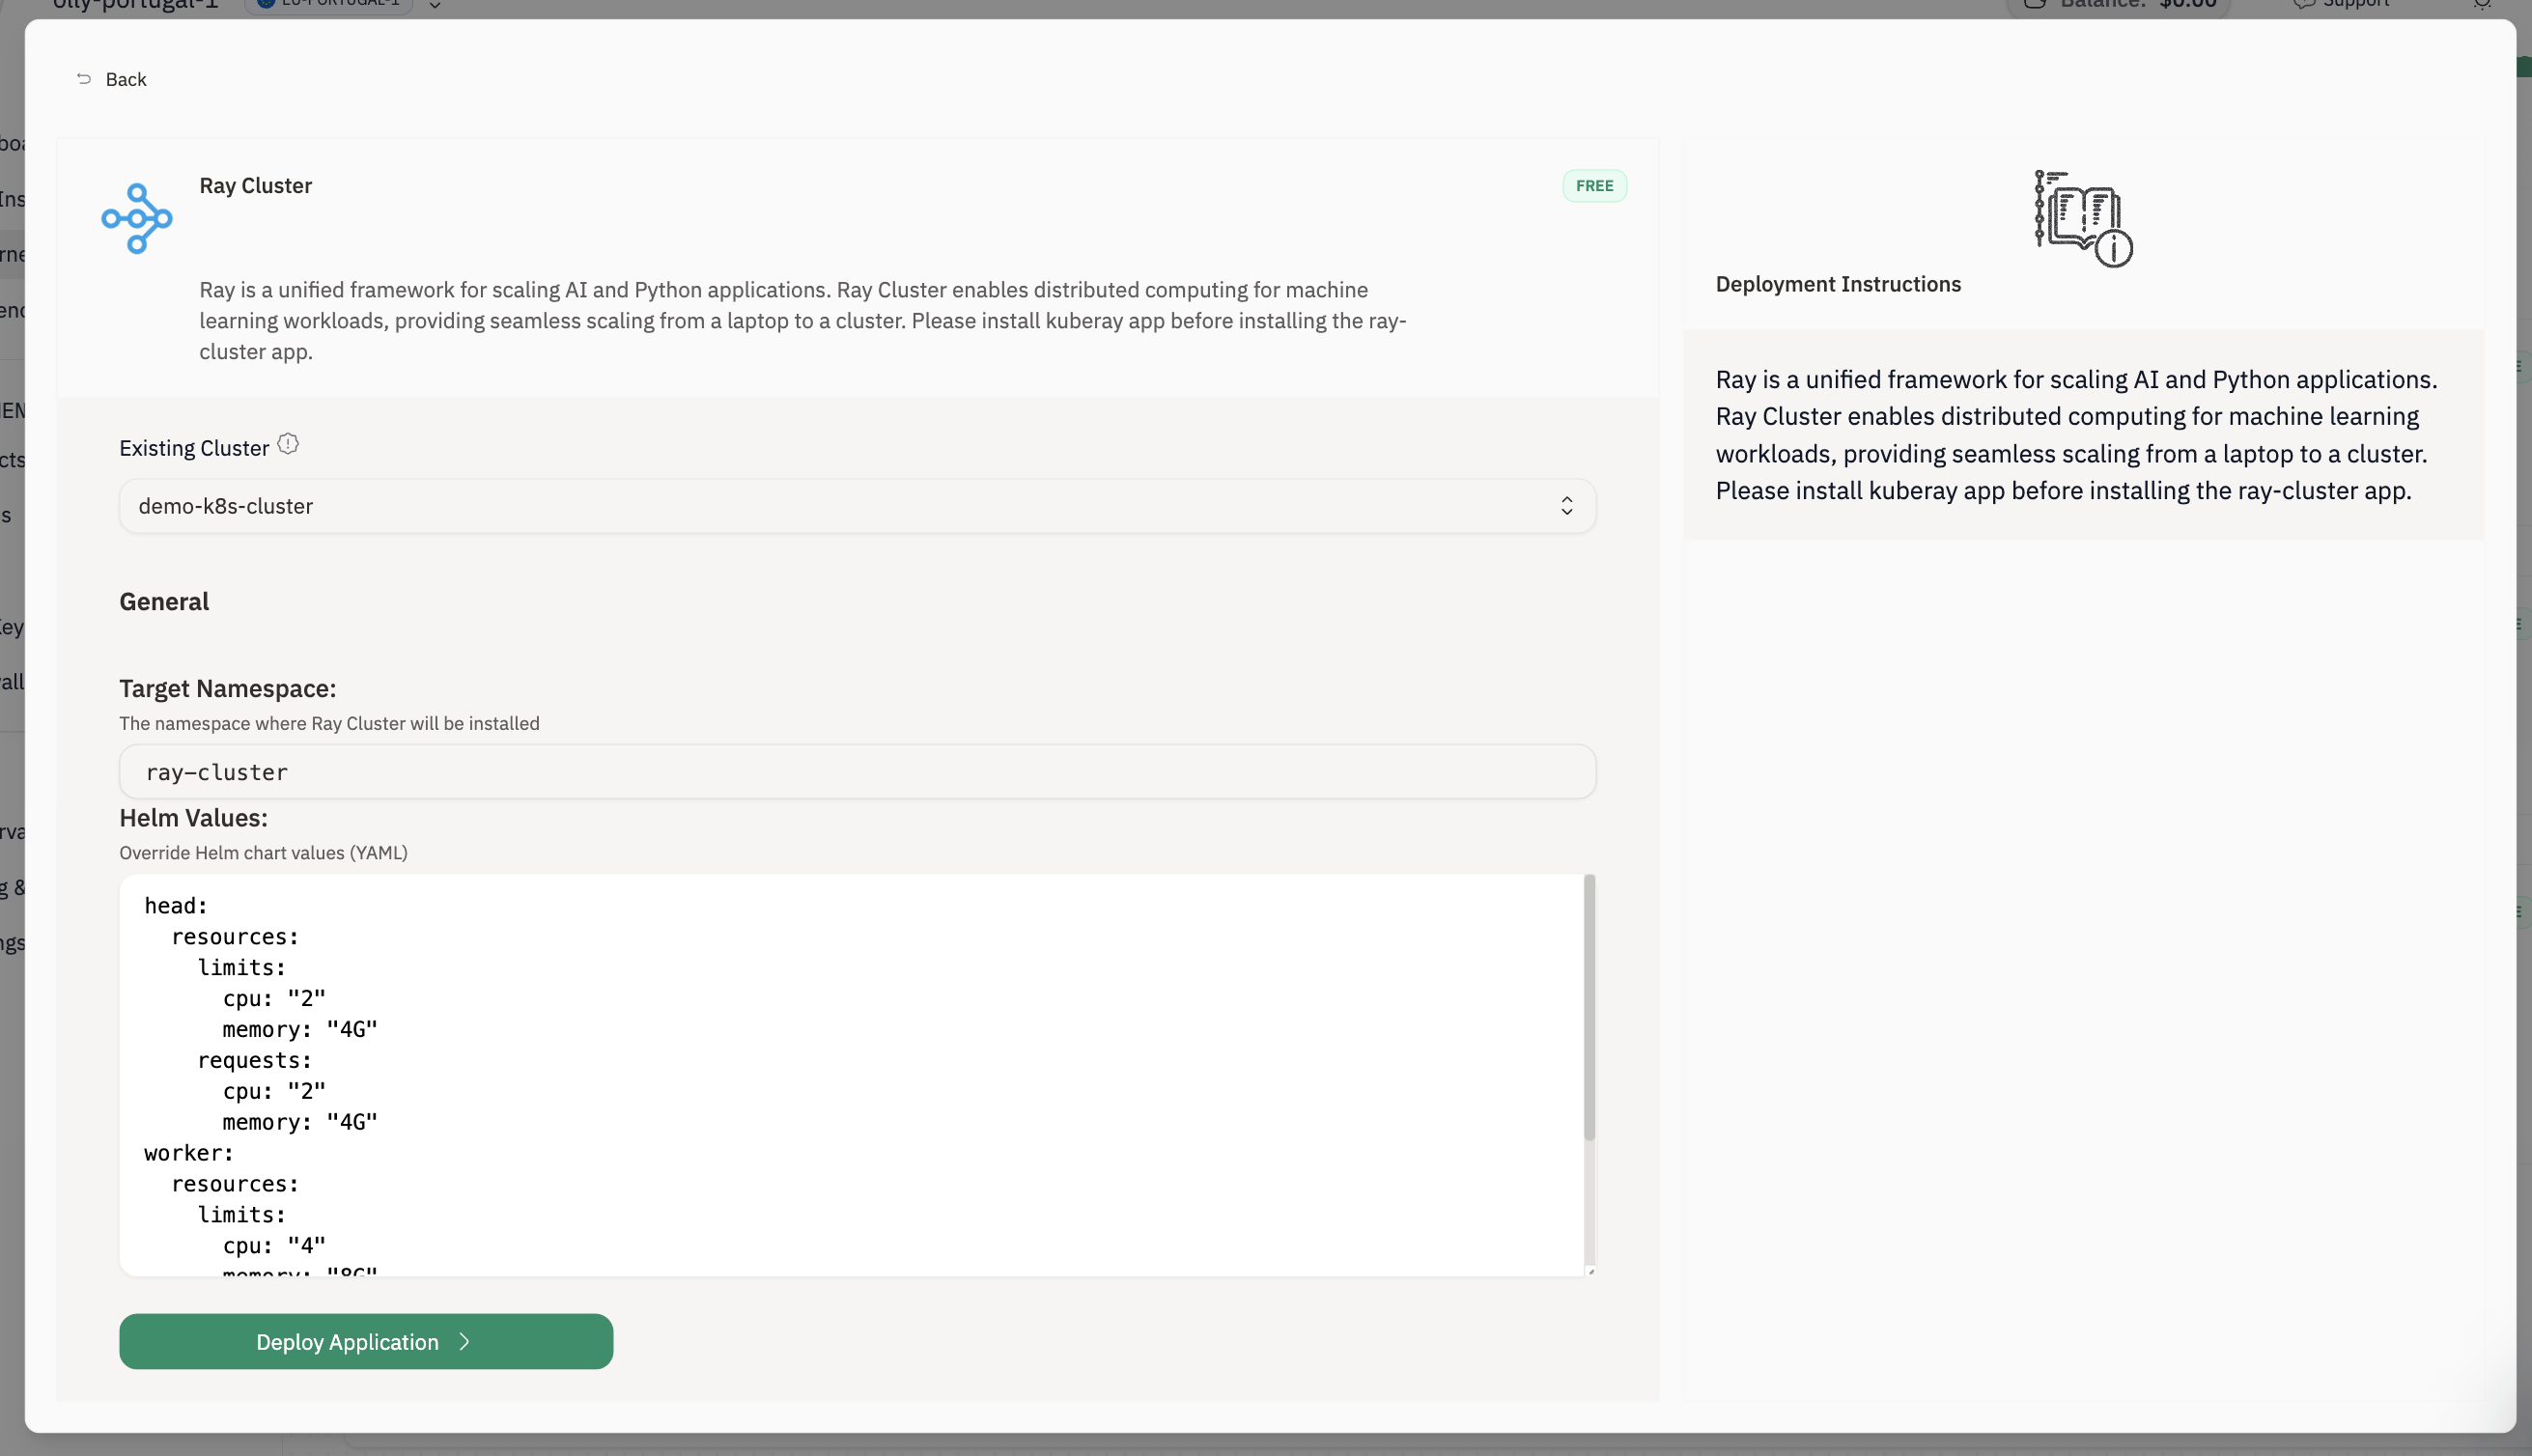
2.3 Install Ray Cluster

  1. Open Ray ClusterView Details
  2. Choose Existing Cluster
  3. Click Deploy Application
Verify Ray is present:
kubectl get ray-cluster -A
kubectl get pods -A | grep -i ray

Step 3: Install the Stable Diffusion RayService

Apply the example RayService manifest:
kubectl apply -f https://raw.githubusercontent.com/ray-project/kuberay/master/ray-operator/config/samples/ray-service.stable-diffusion.yaml
Check the RayService:
kubectl get rayservices -A
kubectl describe rayservices.ray.io stable-diffusion
Wait until the RayService Ready condition becomes True.

Step 3: Forward the Serve port

First, find the service:
kubectl get services
Then port-forward the serve service:
kubectl port-forward svc/stable-diffusion-serve-svc 8000
Keep this terminal running.

Step 4: Run the Gradio client

Download the request script
curl -L -o diffusion-run.py "https://gist.githubusercontent.com/rb-aion/f01e3abecaae3346fd3ef94122ea0caf/raw/5f46b75360c262963a535f6fbd954a56f2055592/diffusion-run.py"
Install dependencies
python -m pip install --upgrade pip
python -m pip install gradio requests
Start the app
python diffusion-run.py
Gradio will print a local URL (typically http://127.0.0.1:7860). Open it in your browser to generate images.