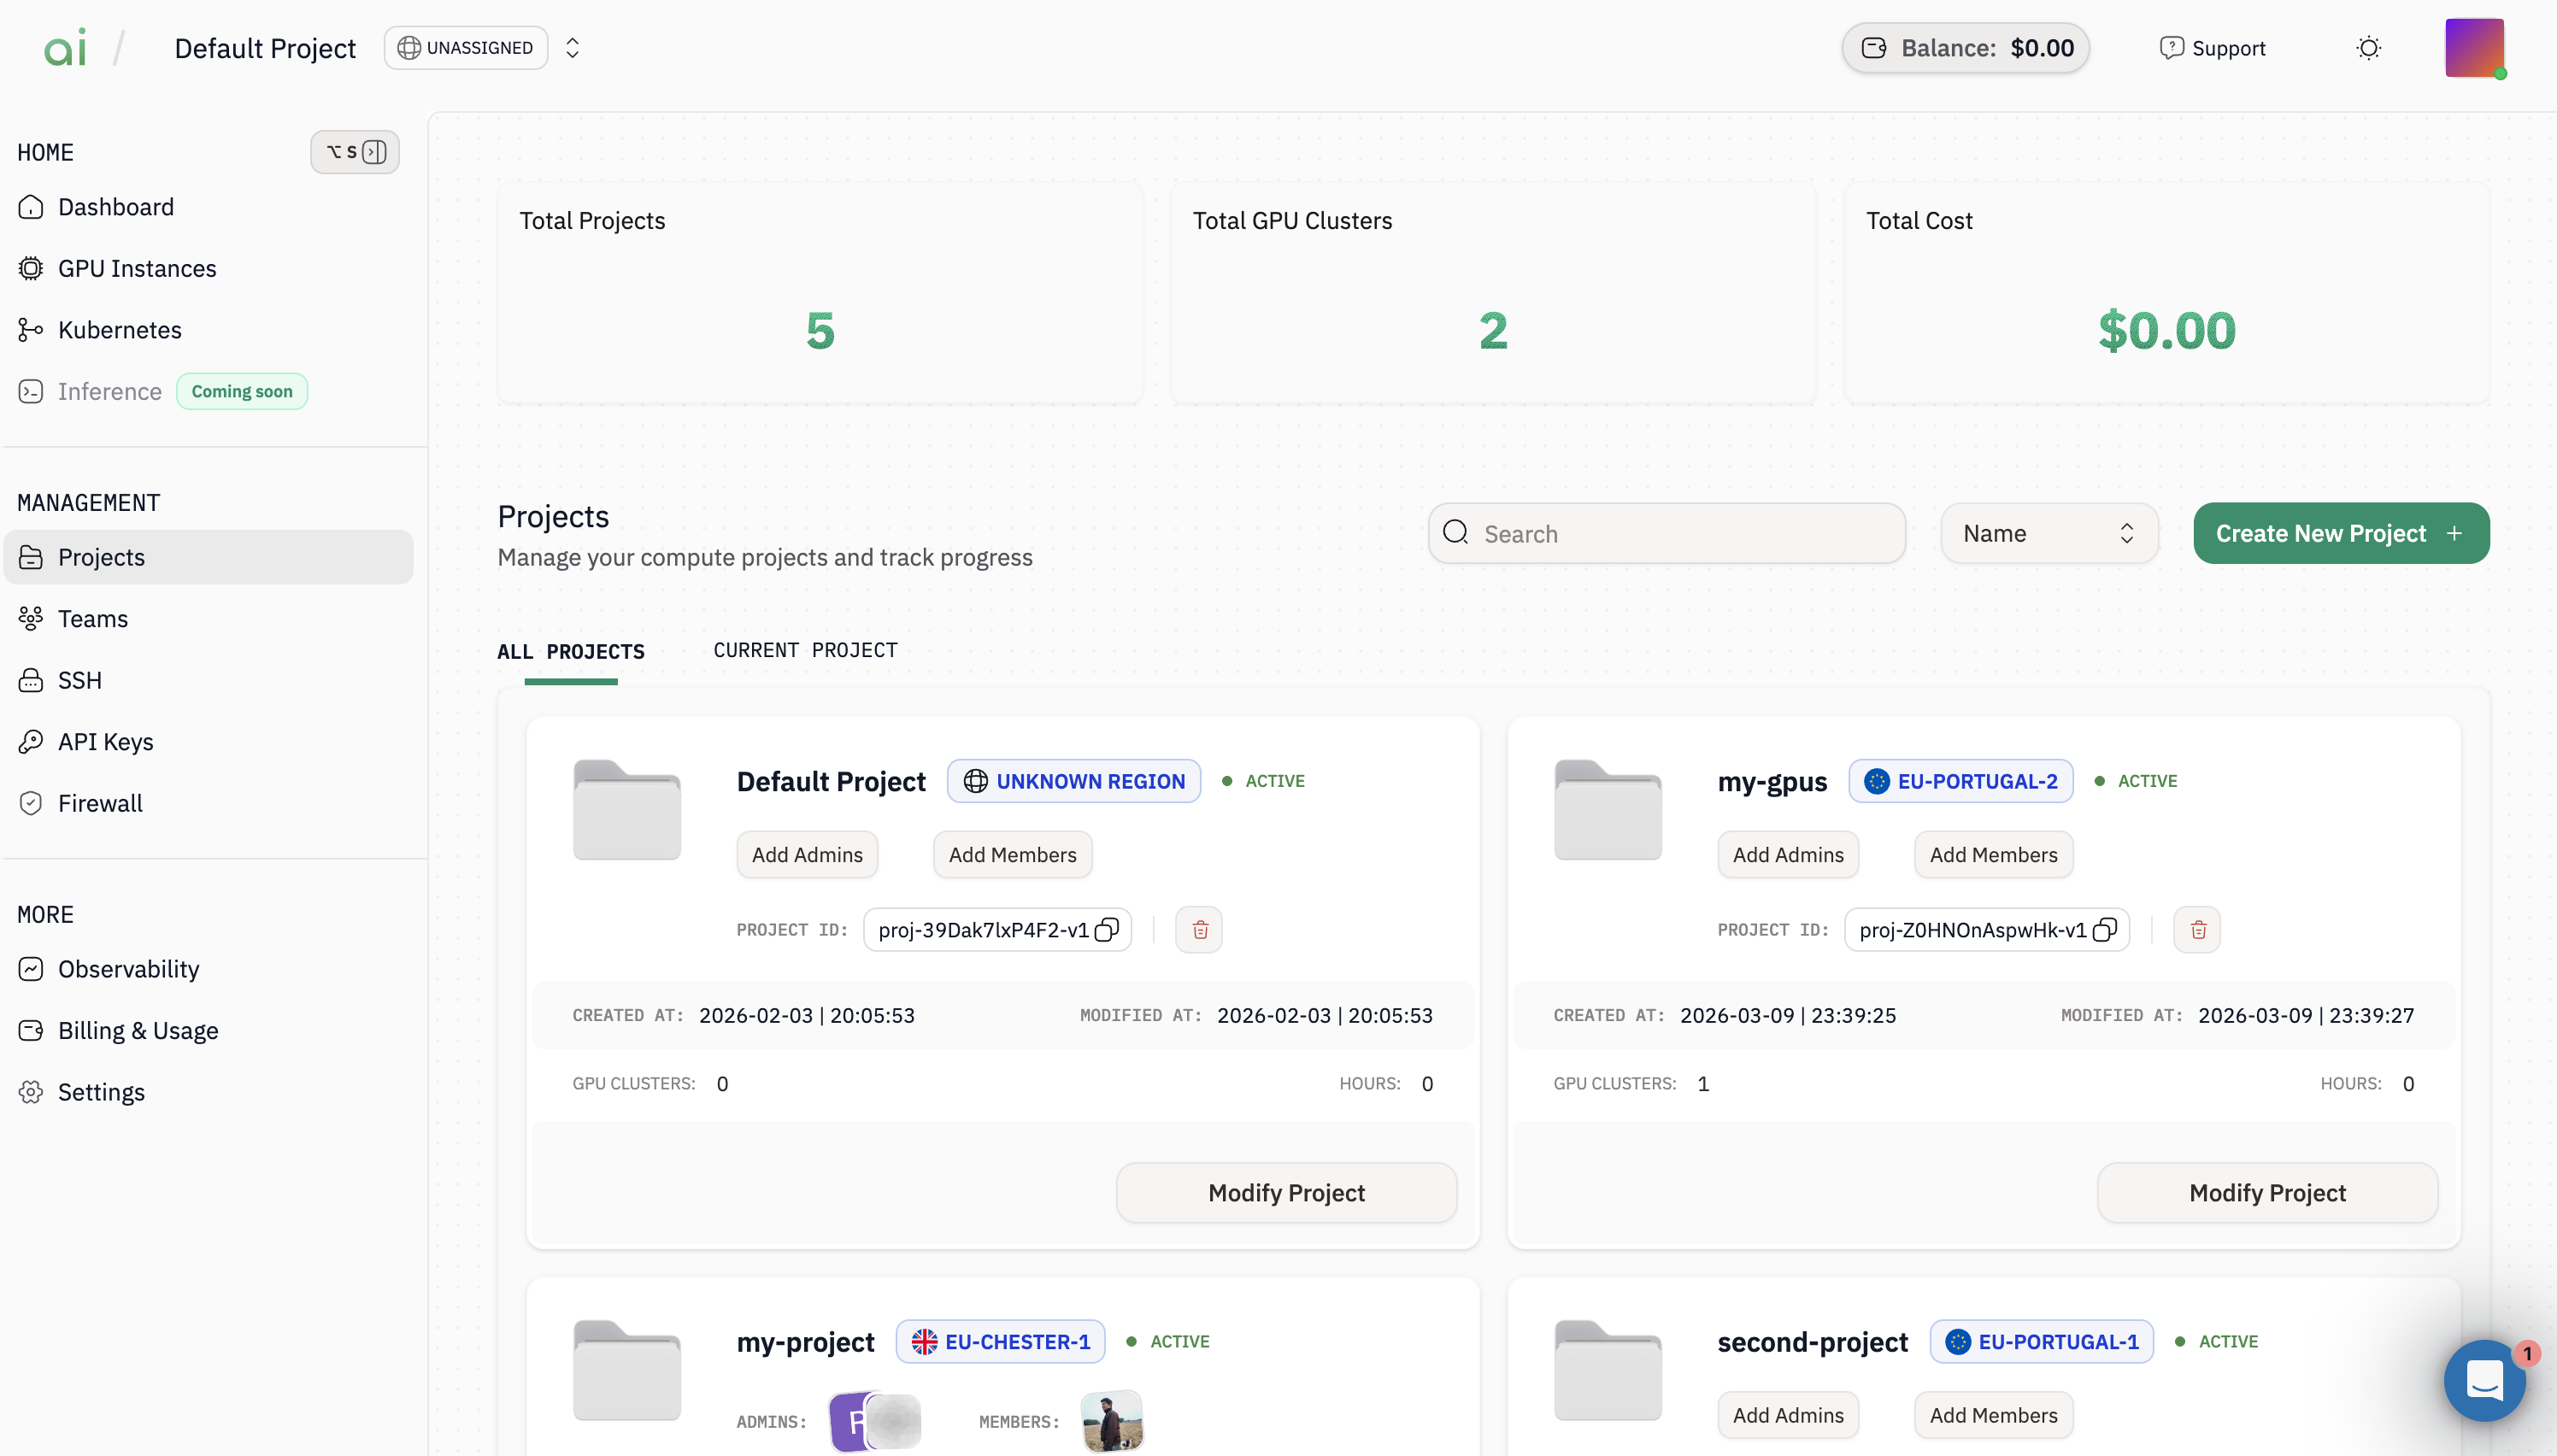
Step 1: Open the Projects page
Start by navigating to the Projects section in the AION console.-
In the left sidebar, go to
Management → Projects. -
You’ll land on the Projects page where you can view all existing projects.
Step 2: Start creating a new project
From the Projects page, click on theCreate New Project + (top-right) to begin the project creation flow.
Step 3: Fill in project details
Enter these project information and then click on theAdd New Project to create the project.
Project Name | Use a name you’ll recognize in your projects list. |
Region | Choose the region where you want your resources to run. |
Project Description | Optional, but helpful for organizing workloads. |

Step 4: Verify your project is created
After creation, the project appears in theAll Projects list. You can open it later to manage members and update details.
Modify project details
You can rename a project or update its description at any time.-
From the project card, click
Modify Project. -
Update the fields you want (for example,
Project NameorProject Description). -
Click
Save Project.
Add admins and members
Projects can have admins and members. Admins can manage project settings and access.- On the project card, click
Add Members. - Use the search box to find your teammate.
- Click the teammate’s name to add them.
Important: You can follow the same steps to add additional members or admins (depending on your workspace permissions).
Delete a project
Warning: Deleting a project is permanent and cannot be undone.
- Click the delete (trash) icon on the project card.
- In the confirmation dialog, type the exact
Project Nameshown. - Click
I understand the consequences. DELETE this resourceto complete deletion.