> ## Documentation Index
> Fetch the complete documentation index at: https://docs.aion.xyz/llms.txt
> Use this file to discover all available pages before exploring further.
# Create and Manage Firewalls
> Create a firewall for your project and add ingress/egress rules to control network access for your instances.
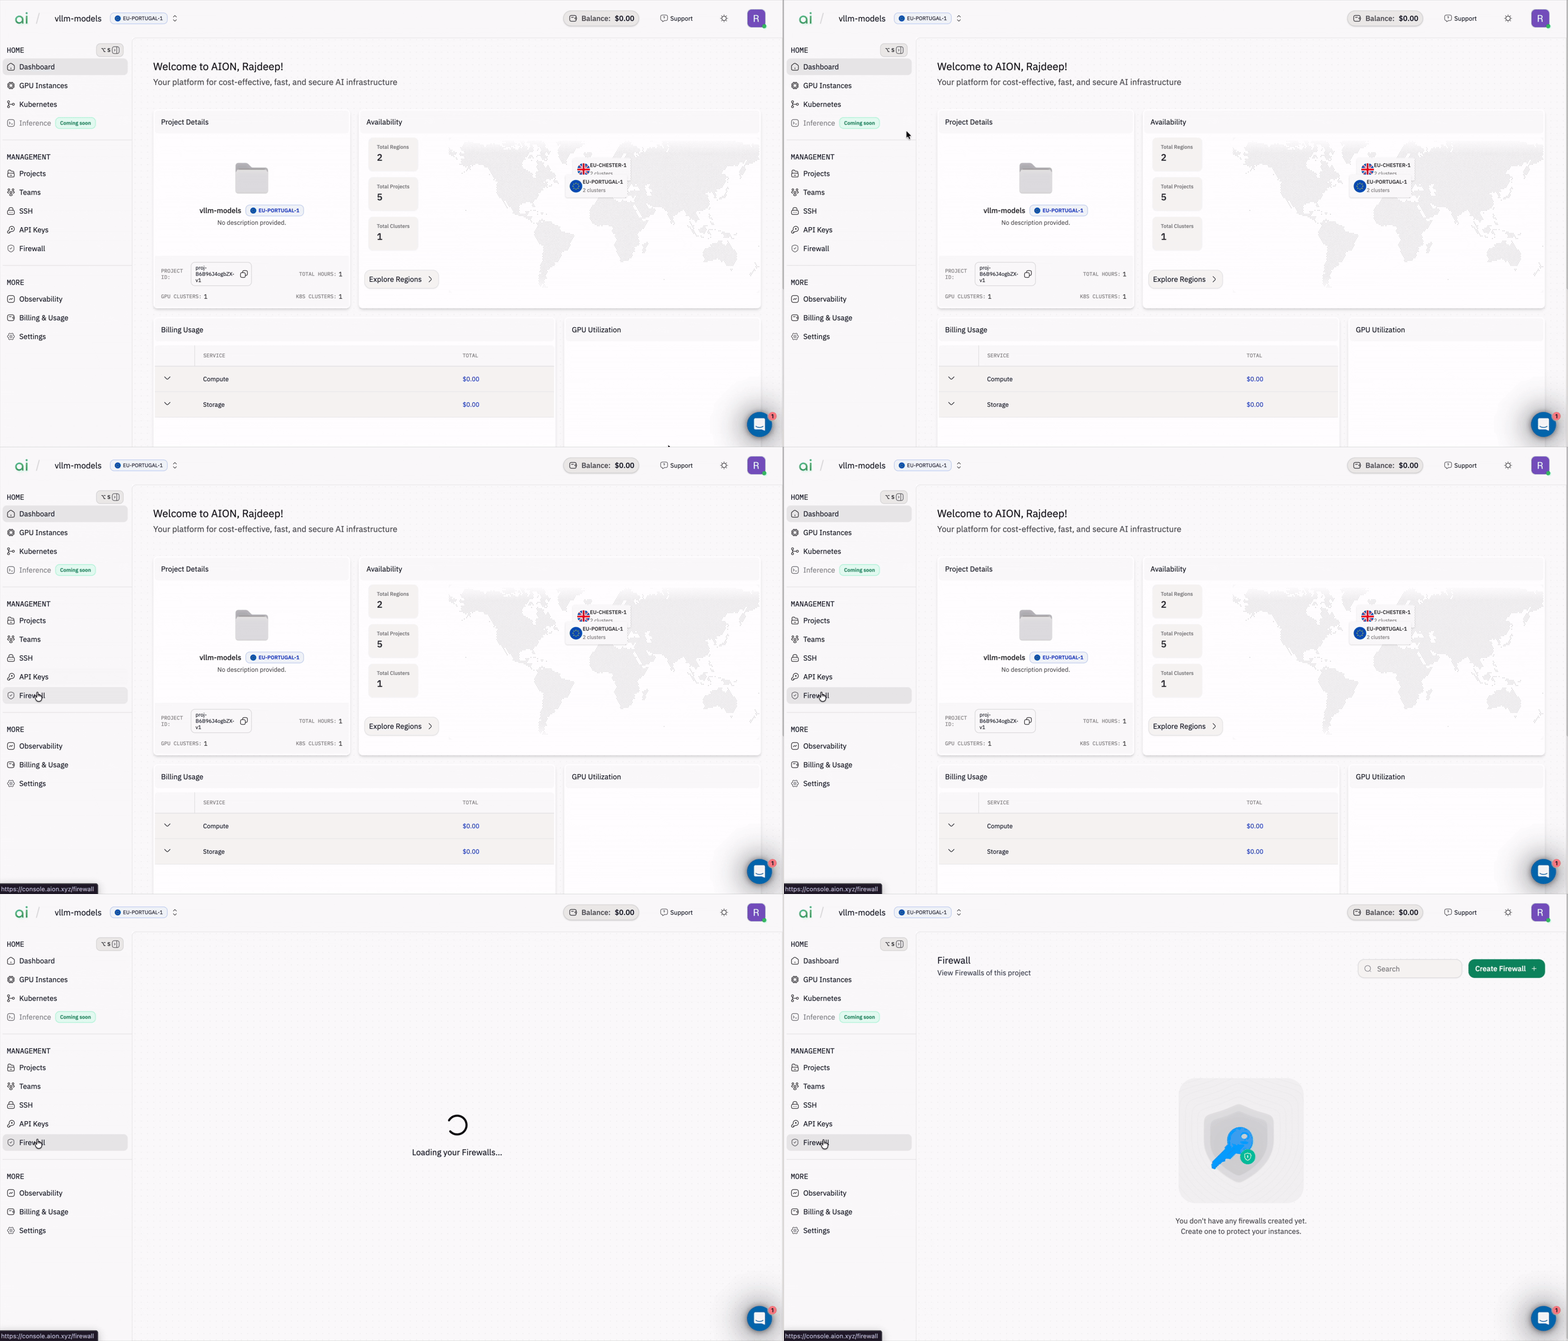
#### Step 1: Open the Firewall page
In the left sidebar, navigate to `Management → Firewall`. Firewalls help protect your instances by controlling what traffic is allowed **inbound (Ingress)** and **outbound (Egress)**.
 #### Step 2: Create a new Firewall
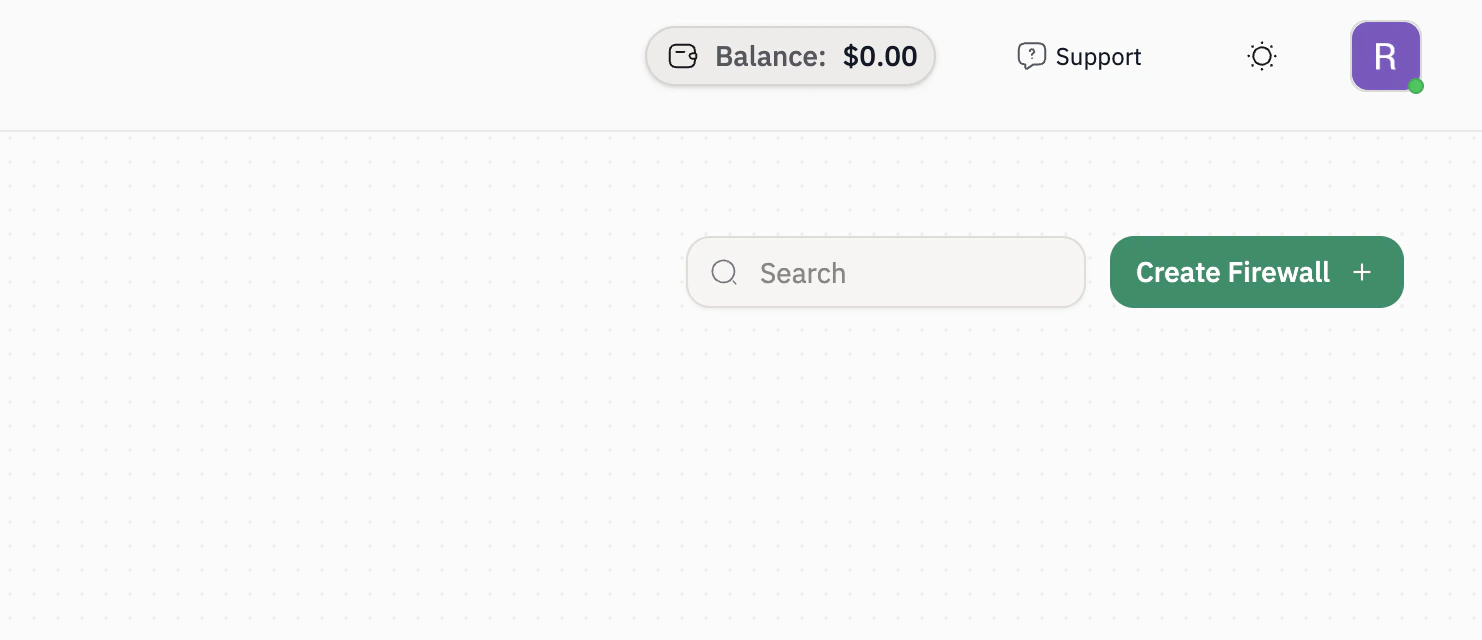
Click the green `Create Firewall +` button (top-right).
#### Step 2: Create a new Firewall
Click the green `Create Firewall +` button (top-right).
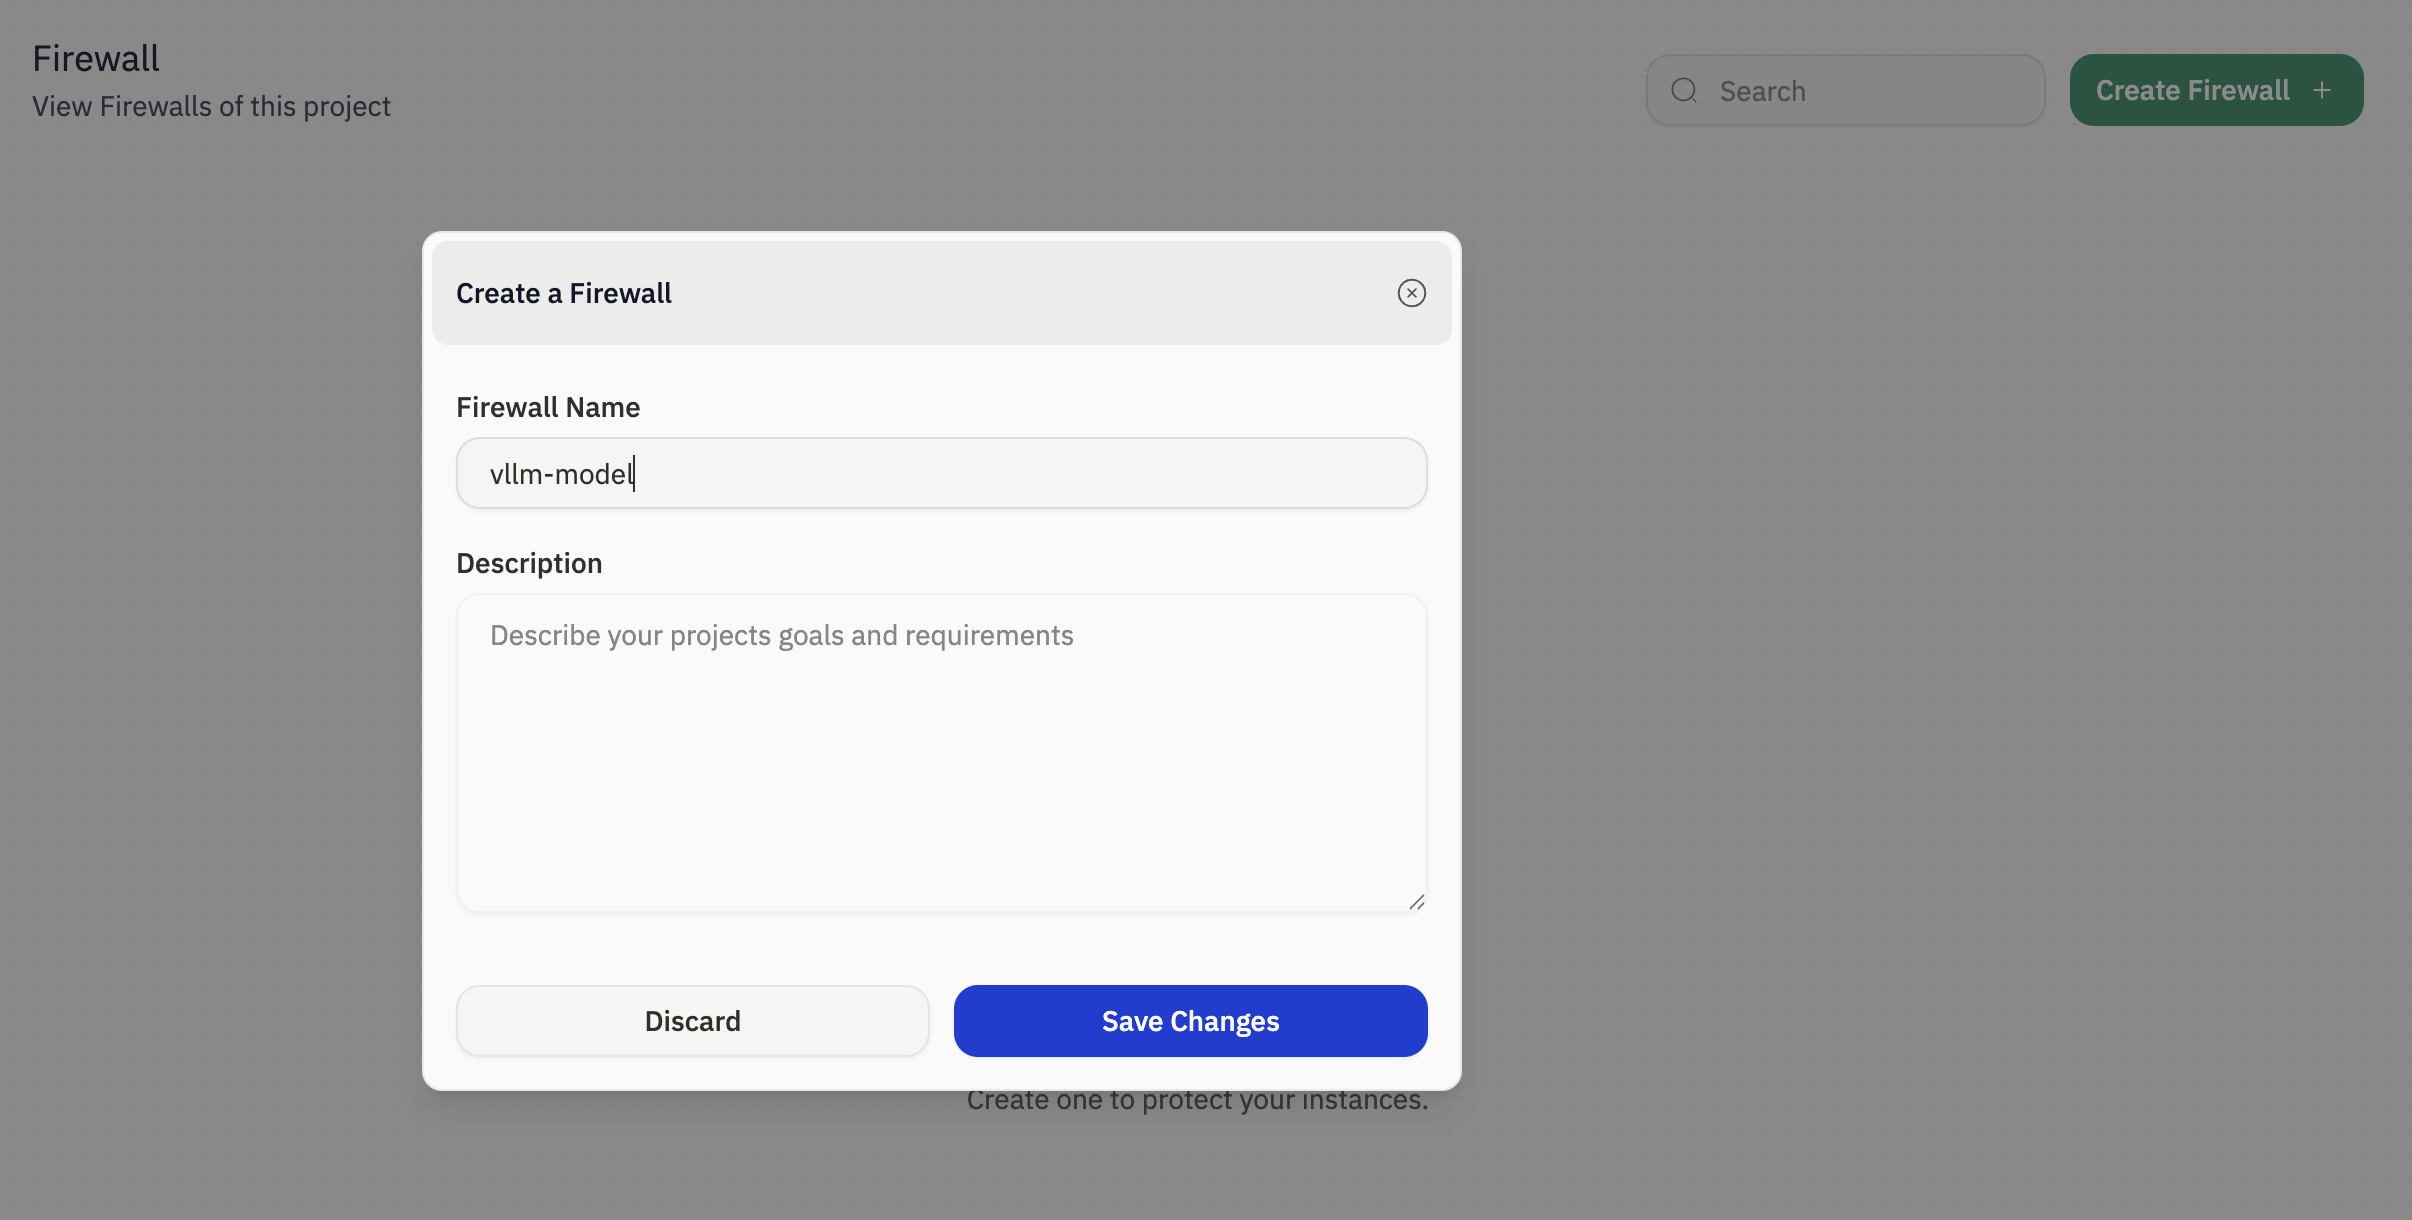
 In the dialog:
1. Enter a `Firewall Name` (example: `myfirewall`).
2. (Optional) Add a `Description` to document the purpose.
3. Click `Save Changes`.
In the dialog:
1. Enter a `Firewall Name` (example: `myfirewall`).
2. (Optional) Add a `Description` to document the purpose.
3. Click `Save Changes`.
 #### Step 3: Verify the Firewall is created
After saving, your firewall appears in the Firewall list with:
* `Created At`
* `Name`
* `Description`
* `Rules` count
* `Status`
#### Step 4: Open the Firewall to manage rules
Click the firewall name from the list (example: `myfirewall`) to open its rules page.
#### Step 5: Add a Firewall Rule (Ingress or Egress)
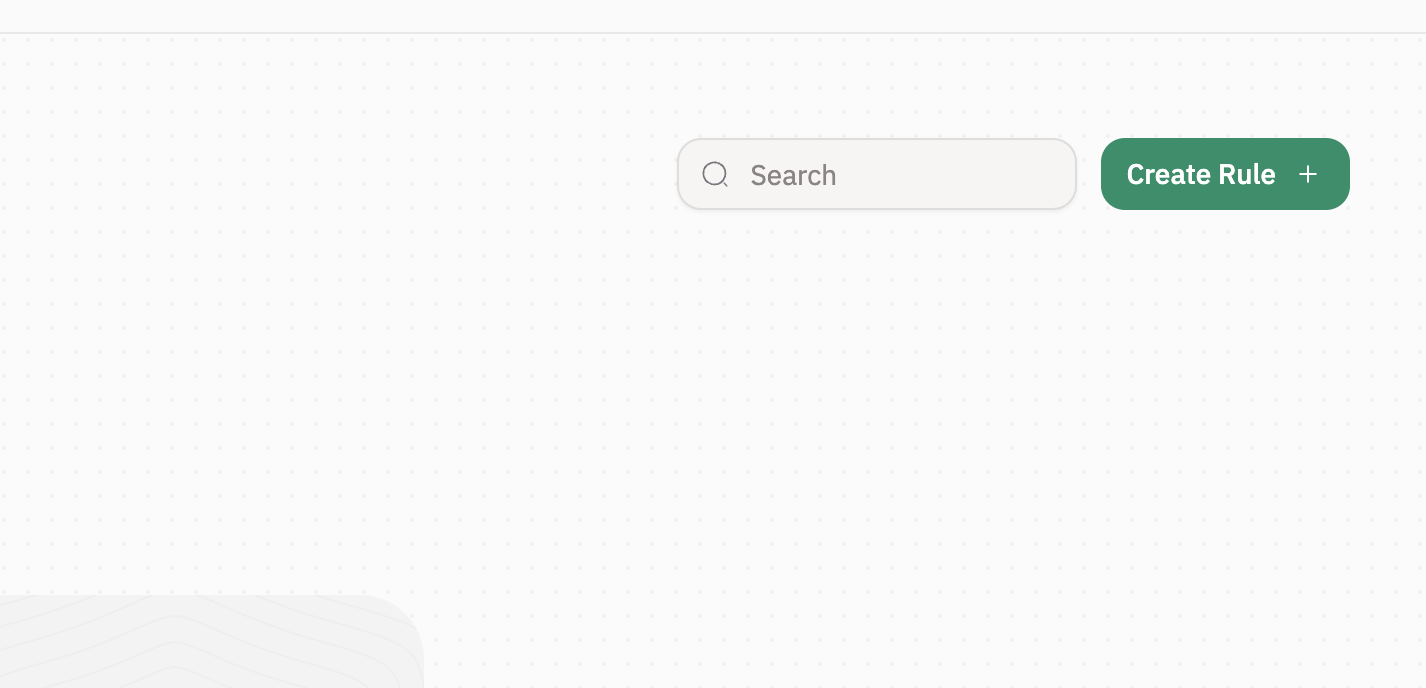
Click the green `Create Rule +` button.
#### Step 3: Verify the Firewall is created
After saving, your firewall appears in the Firewall list with:
* `Created At`
* `Name`
* `Description`
* `Rules` count
* `Status`
#### Step 4: Open the Firewall to manage rules
Click the firewall name from the list (example: `myfirewall`) to open its rules page.
#### Step 5: Add a Firewall Rule (Ingress or Egress)
Click the green `Create Rule +` button.
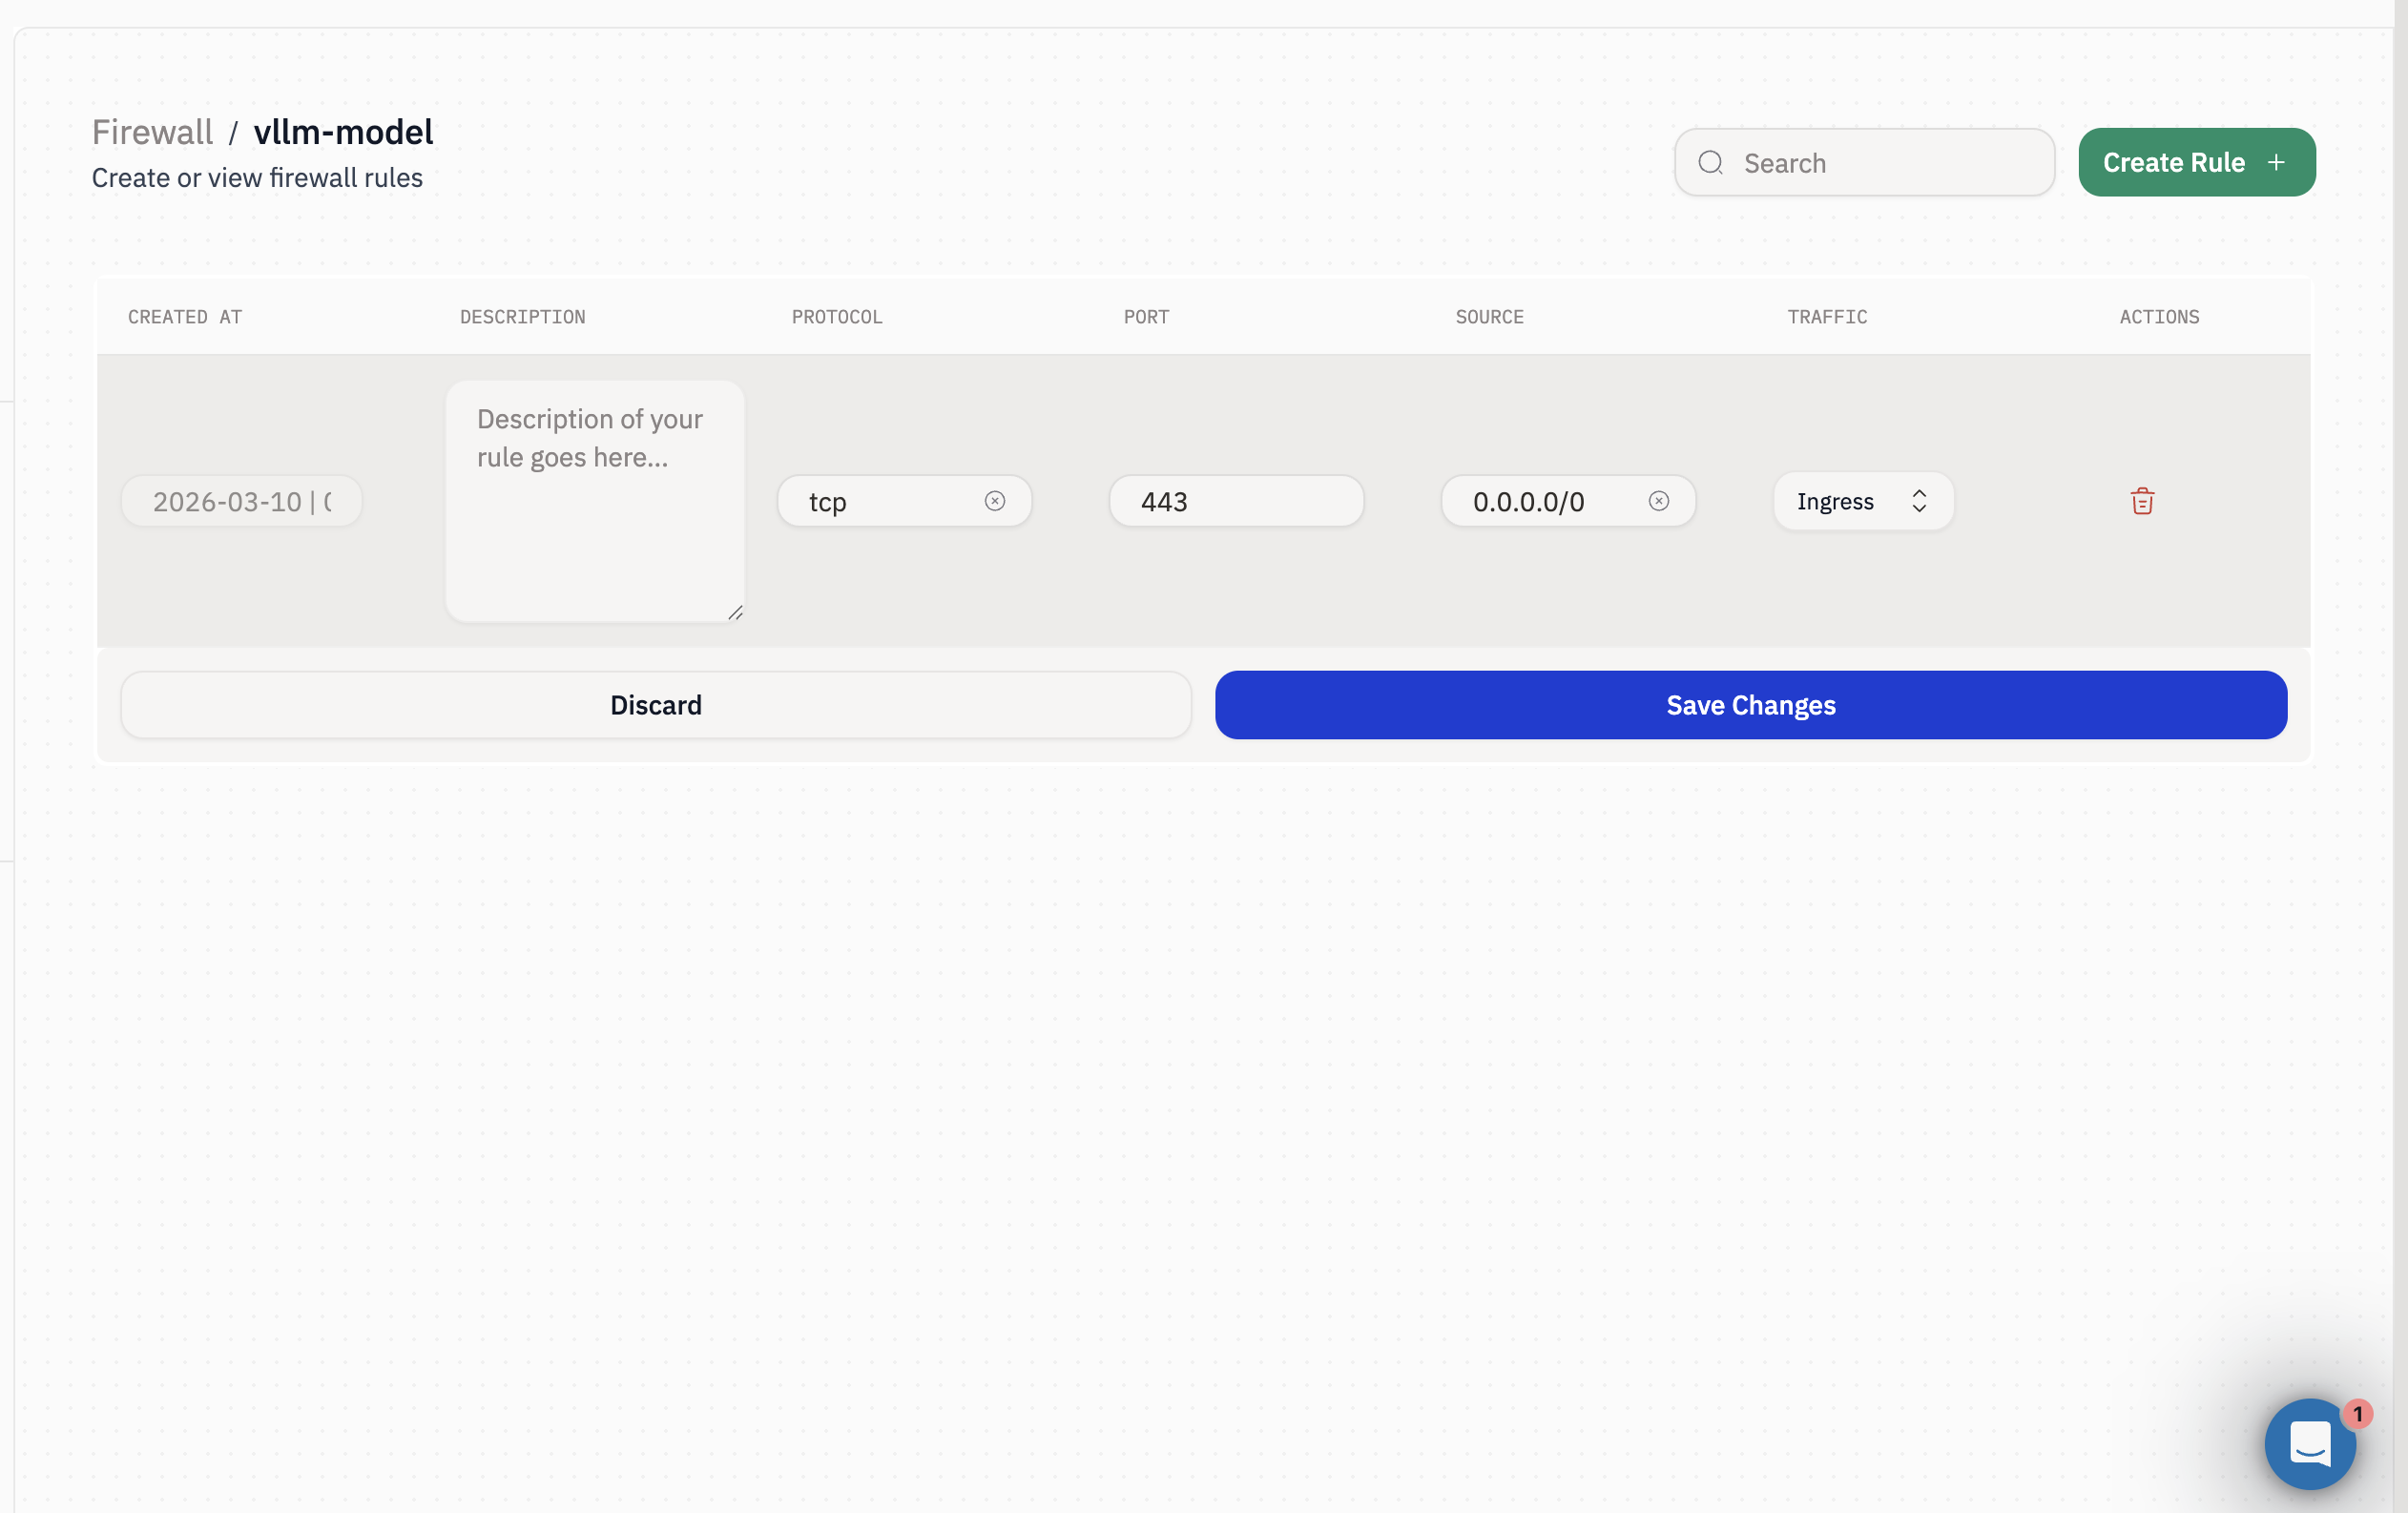
 Fill in the rule fields:
* `Description` (optional): e.g., “Allow HTTPS”
* `Protocol`: e.g., `TCP`
* `Port`: e.g., `443`
* `Source`: CIDR range allowed (example: `0.0.0.0/0` for public internet, or a restricted range like `203.0.113.10/32`)
* `Traffic`: choose `Ingress` (incoming) or `Egress` (outgoing)
Click `Save Changes` to apply the rule.
Fill in the rule fields:
* `Description` (optional): e.g., “Allow HTTPS”
* `Protocol`: e.g., `TCP`
* `Port`: e.g., `443`
* `Source`: CIDR range allowed (example: `0.0.0.0/0` for public internet, or a restricted range like `203.0.113.10/32`)
* `Traffic`: choose `Ingress` (incoming) or `Egress` (outgoing)
Click `Save Changes` to apply the rule.
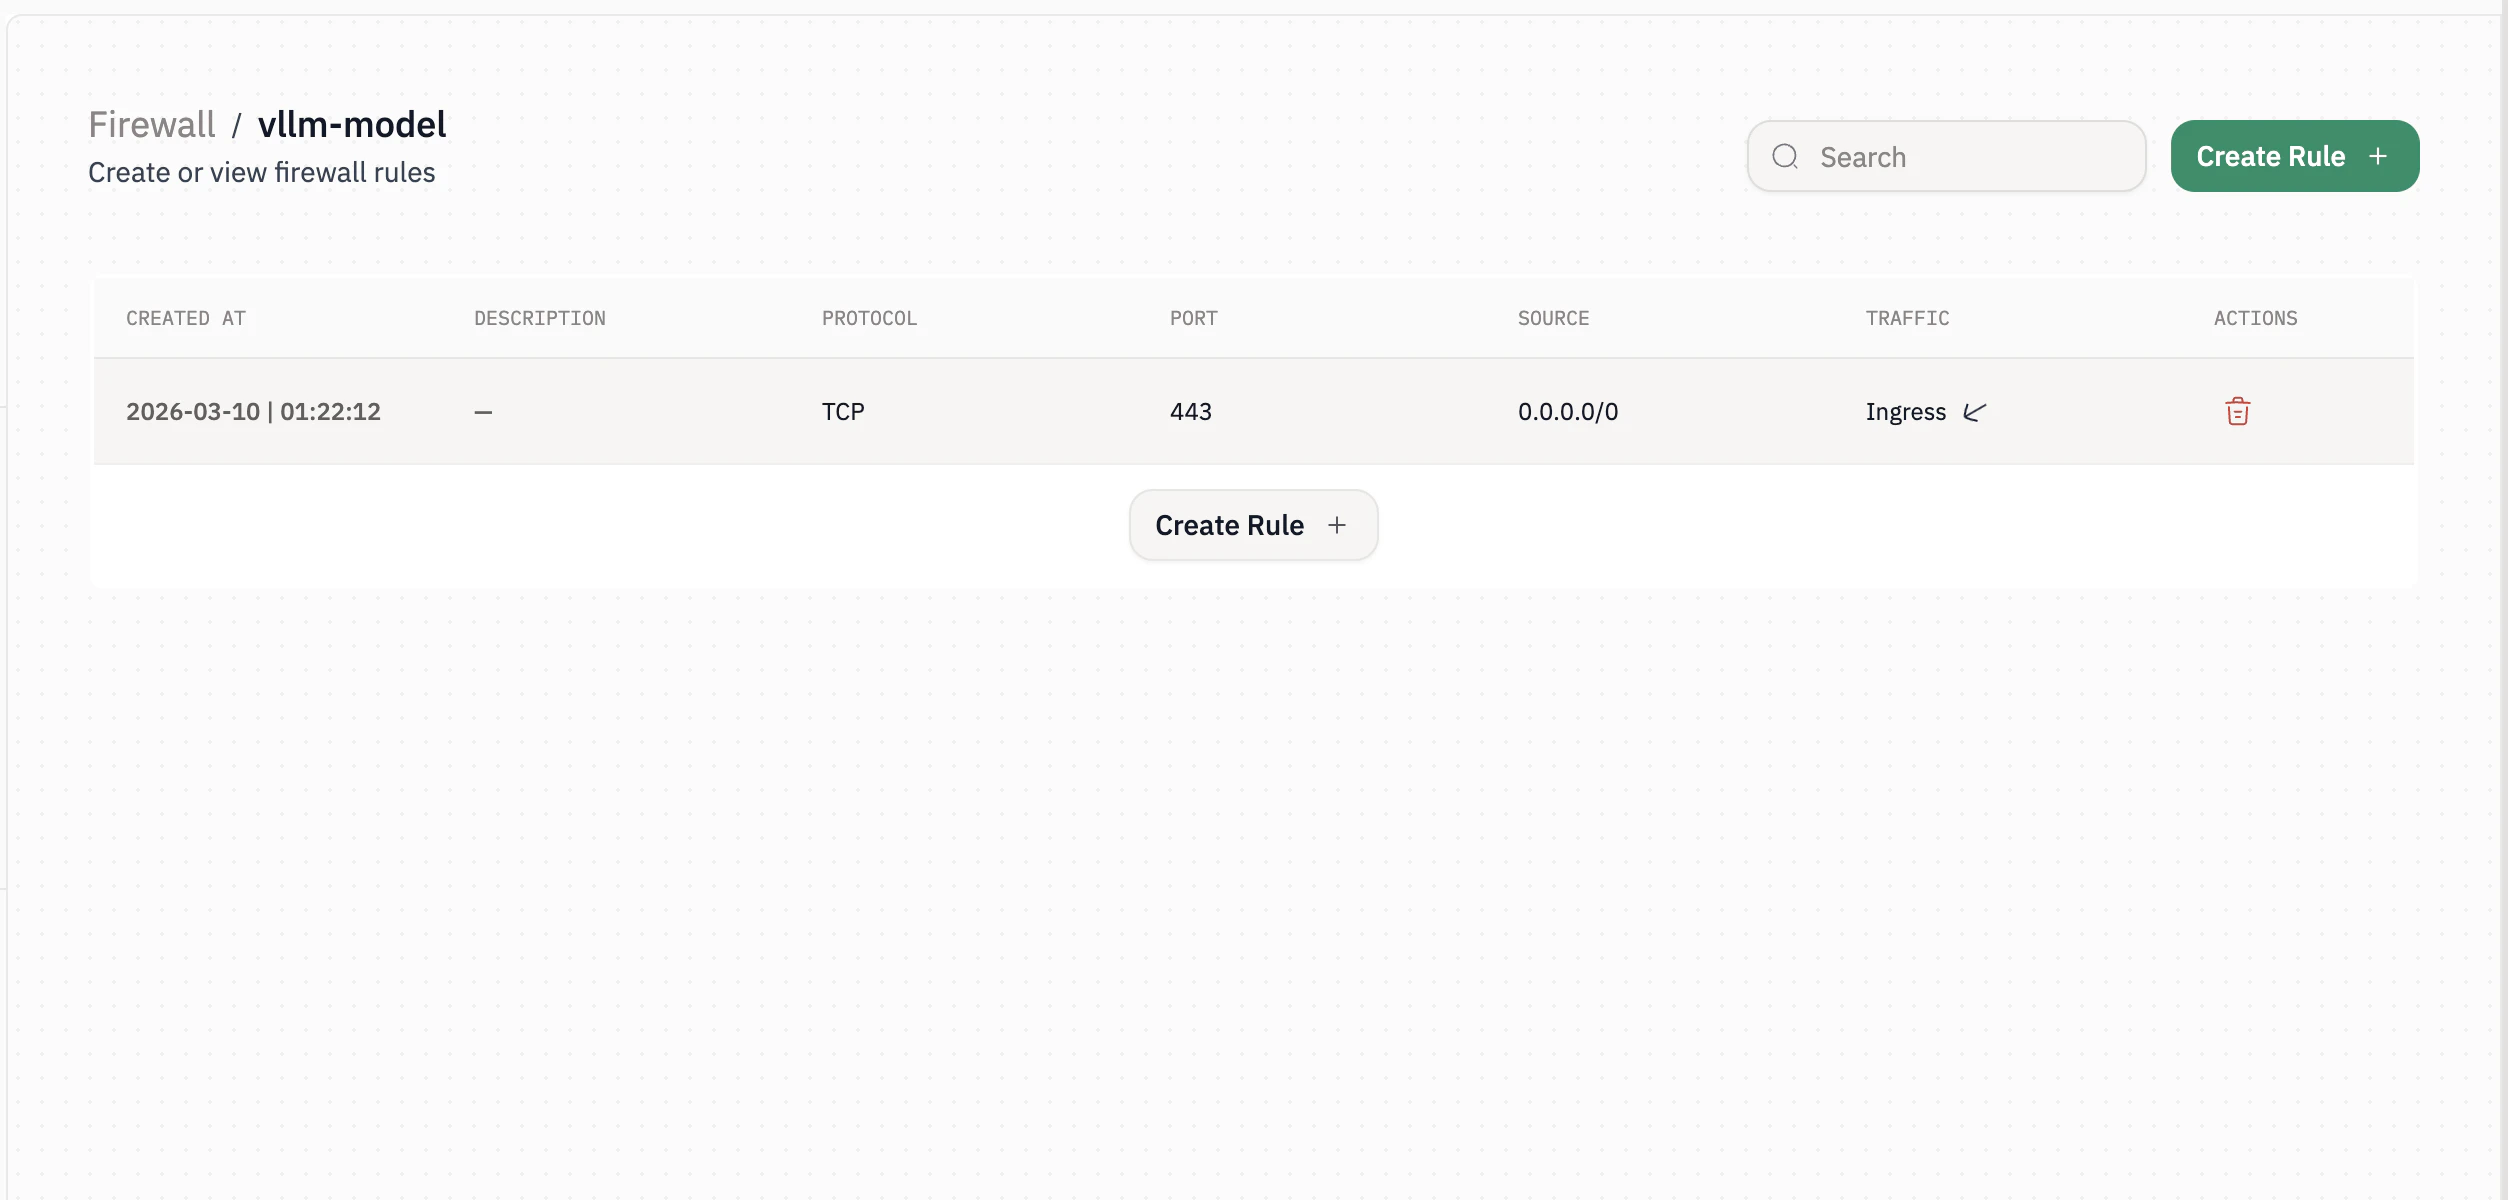
 #### Step 6: Confirm rules appear in the rules list
Once saved, rules show up in the table with:
* `Protocol`
* `Port`
* `Source`
* `Traffic` (Ingress/Egress)
#### Step 6: Confirm rules appear in the rules list
Once saved, rules show up in the table with:
* `Protocol`
* `Port`
* `Source`
* `Traffic` (Ingress/Egress)
 #### Optional: Delete a rule
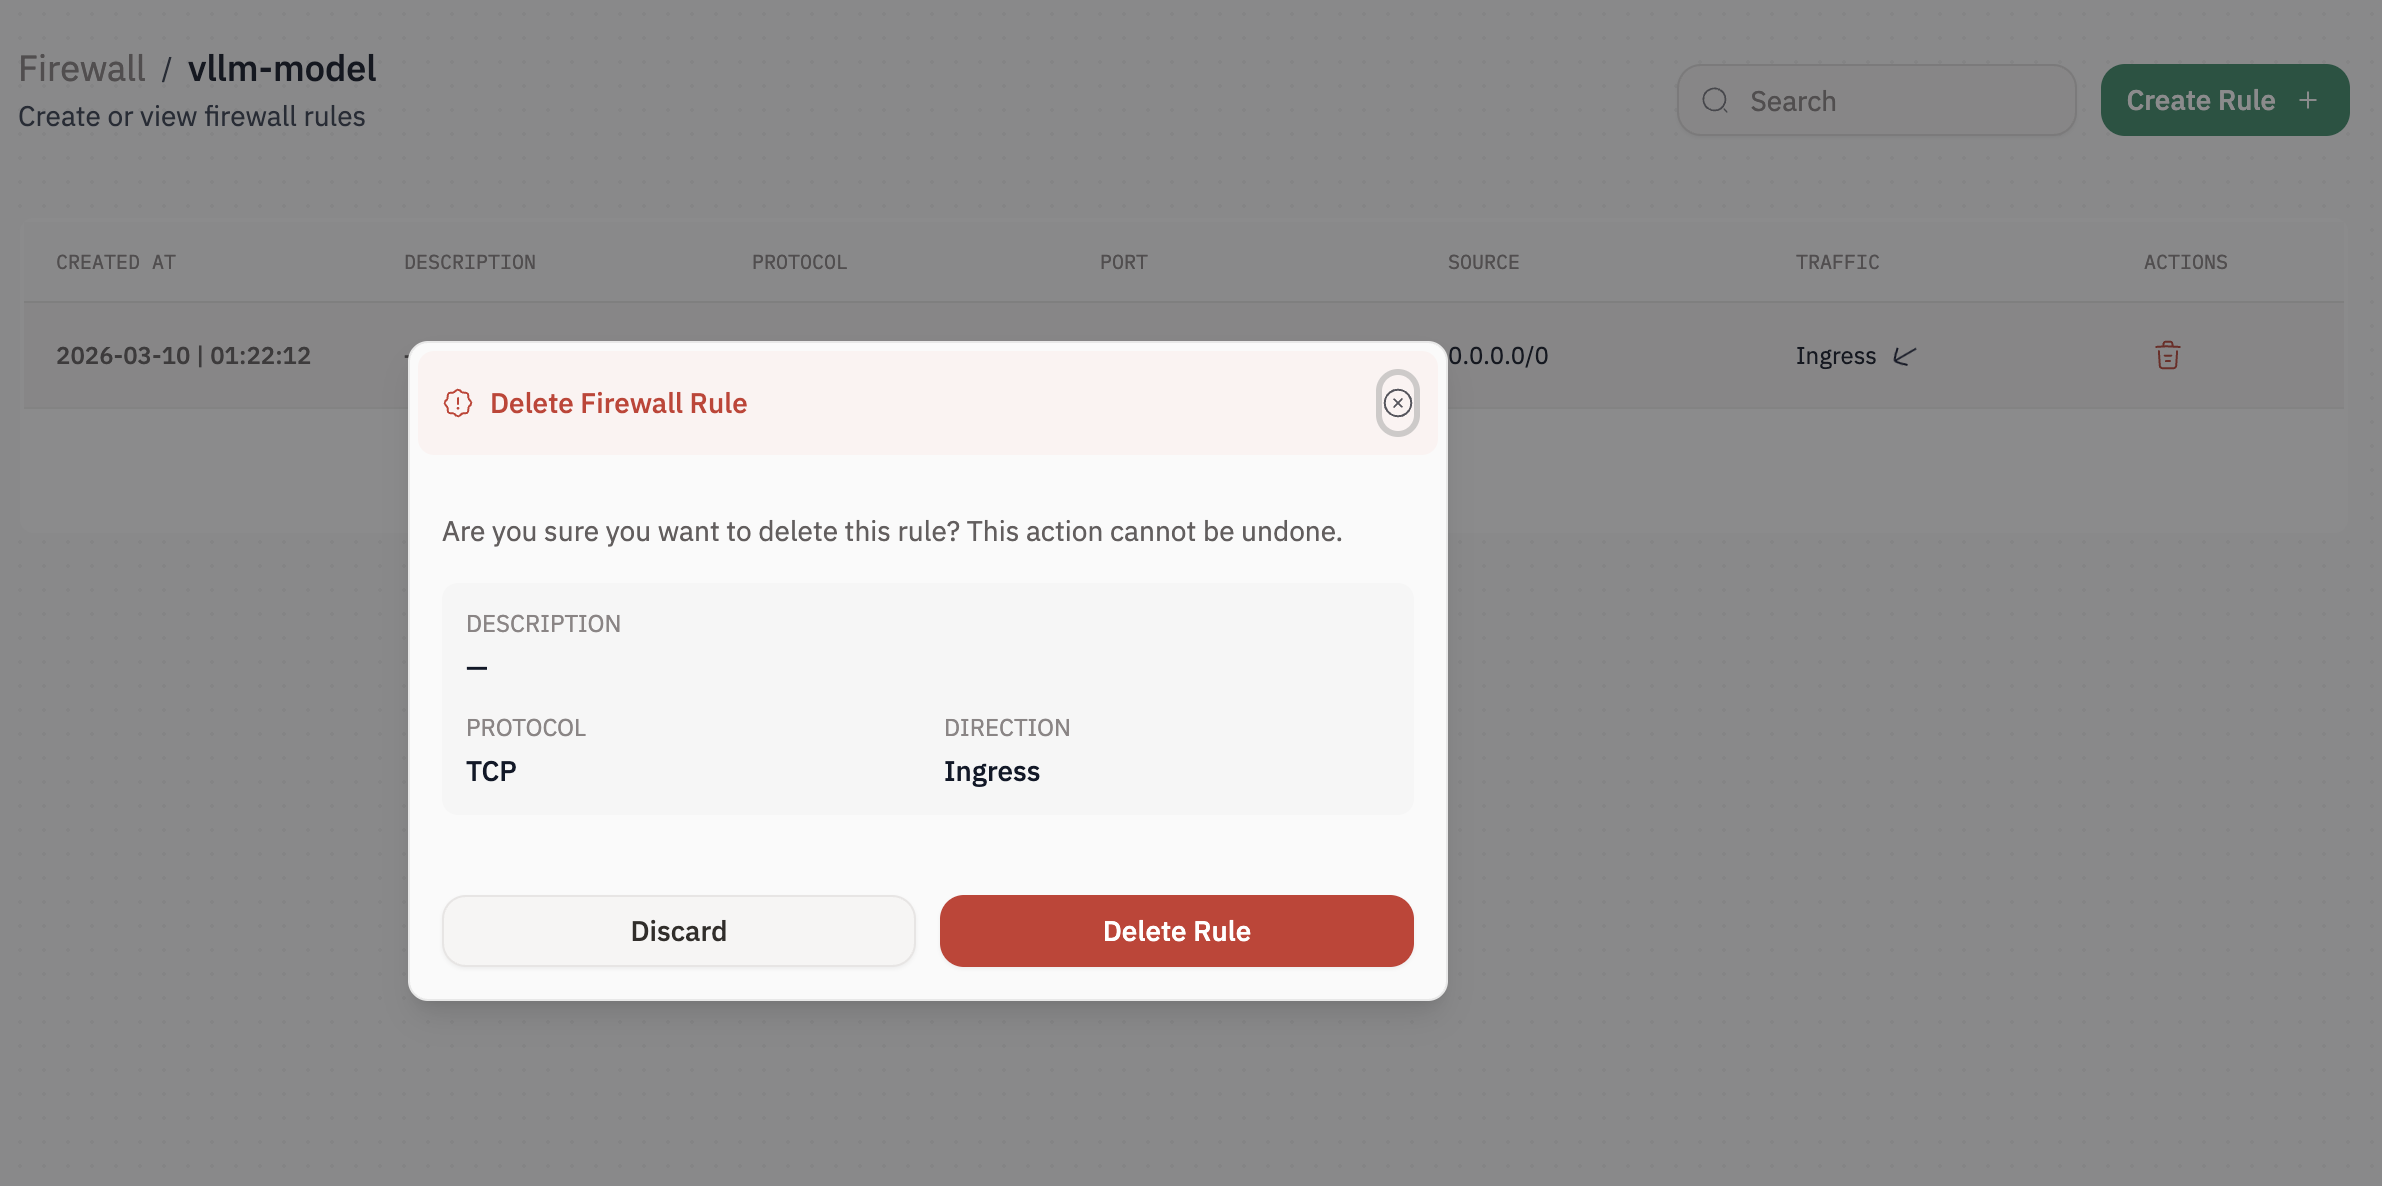
> `Warning:` Deleting a rule is permanent and cannot be undone.
1. In the firewall rules table, click the `Delete` (trash) icon on the rule.
2. Confirm deletion when prompted.
#### Optional: Delete a rule
> `Warning:` Deleting a rule is permanent and cannot be undone.
1. In the firewall rules table, click the `Delete` (trash) icon on the rule.
2. Confirm deletion when prompted.
 #### Optional: Delete a firewall
> `Warning:` Deleting a firewall removes all associated rules and can break access to running services.
1. Go back to `Management → Firewall`.
2. Click the `Delete` (trash) icon on the firewall.
3. Confirm deletion when prompted.
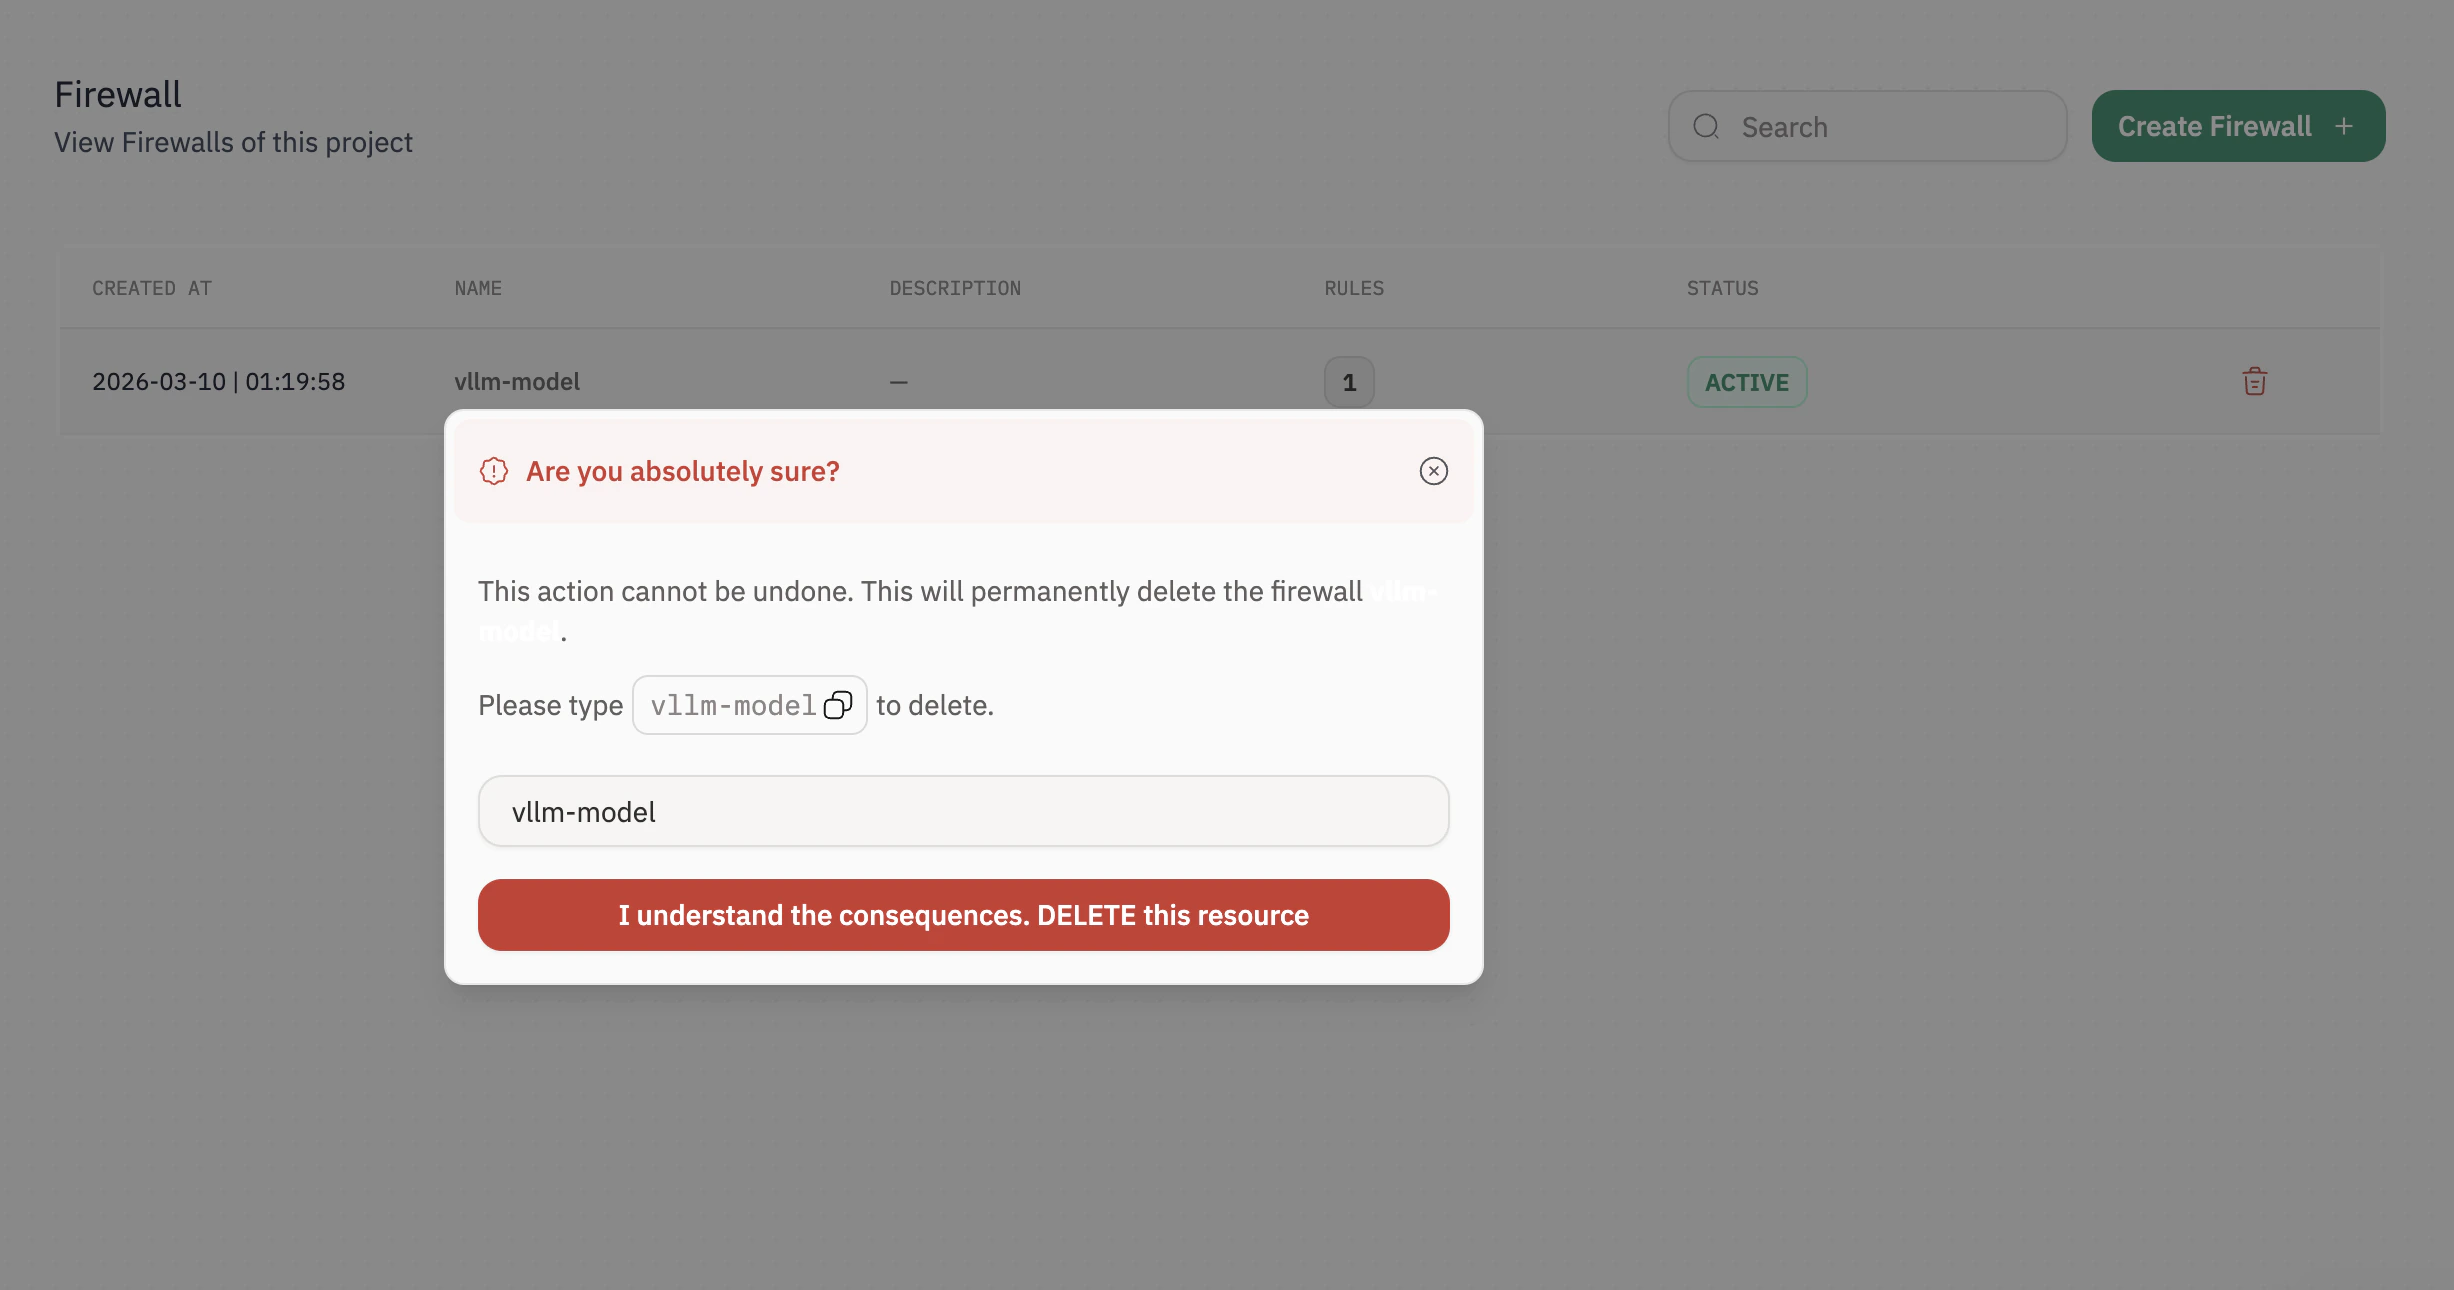
#### Optional: Delete a firewall
> `Warning:` Deleting a firewall removes all associated rules and can break access to running services.
1. Go back to `Management → Firewall`.
2. Click the `Delete` (trash) icon on the firewall.
3. Confirm deletion when prompted.